I remember the night I almost burned down the kitchen. A handful of flour had gone airborne, a splash of milk splattered the countertop, and the timer on my phone kept ringing like a frantic metronome. I stared at the ruined batter, heart racing, and thought, “If this is how vanilla cupcakes look, then I’m doomed to a life of mediocre desserts.” That moment of panic sparked a daring revelation: what if the key to turning a disaster into a triumph was not more ingredients, but a smarter, simpler method?
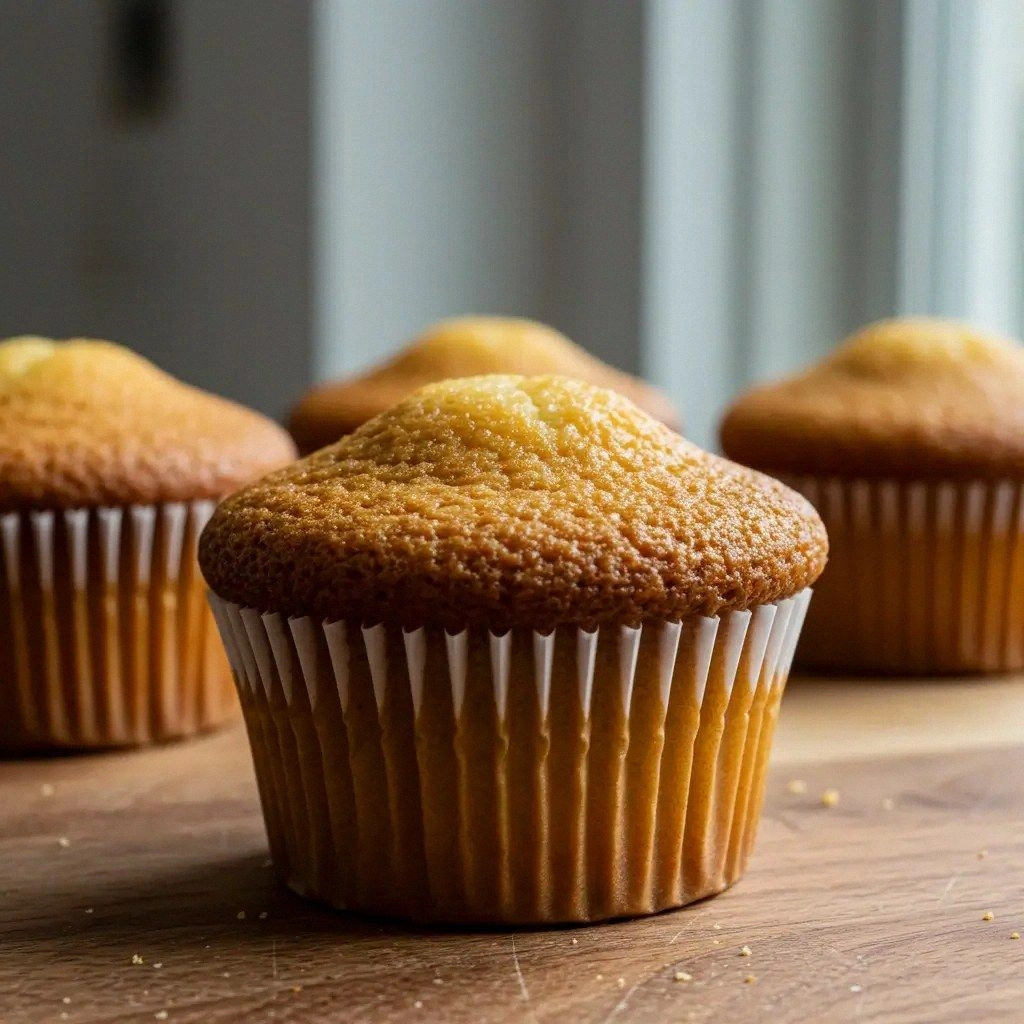
Picture this: a bowl of golden batter that glistens like liquid sunshine, a faint scent of vanilla drifting through the air, and a rhythm of whisking that feels like a gentle lullaby. The kitchen hums with anticipation, the timer ticks, and the timer’s final chime feels like a celebratory drumroll. Each spoonful is a promise of lightness, each bite a burst of subtle sweetness that never overwhelms. If you’ve ever tasted a cupcake that feels like a cloud, you’ve probably missed this exact balance.
Why does this recipe feel like a secret weapon? Because I’ve stripped it down to its purest essence: the perfect harmony of flour, sugar, eggs, and vanilla, with a touch of butter that adds a silky richness. No fancy leavening agents, no exotic flavors—just a straightforward approach that guarantees a tender crumb and a moist center. The result is a cupcake that feels like a hug in cake form, ready to be enjoyed by anyone, anytime.
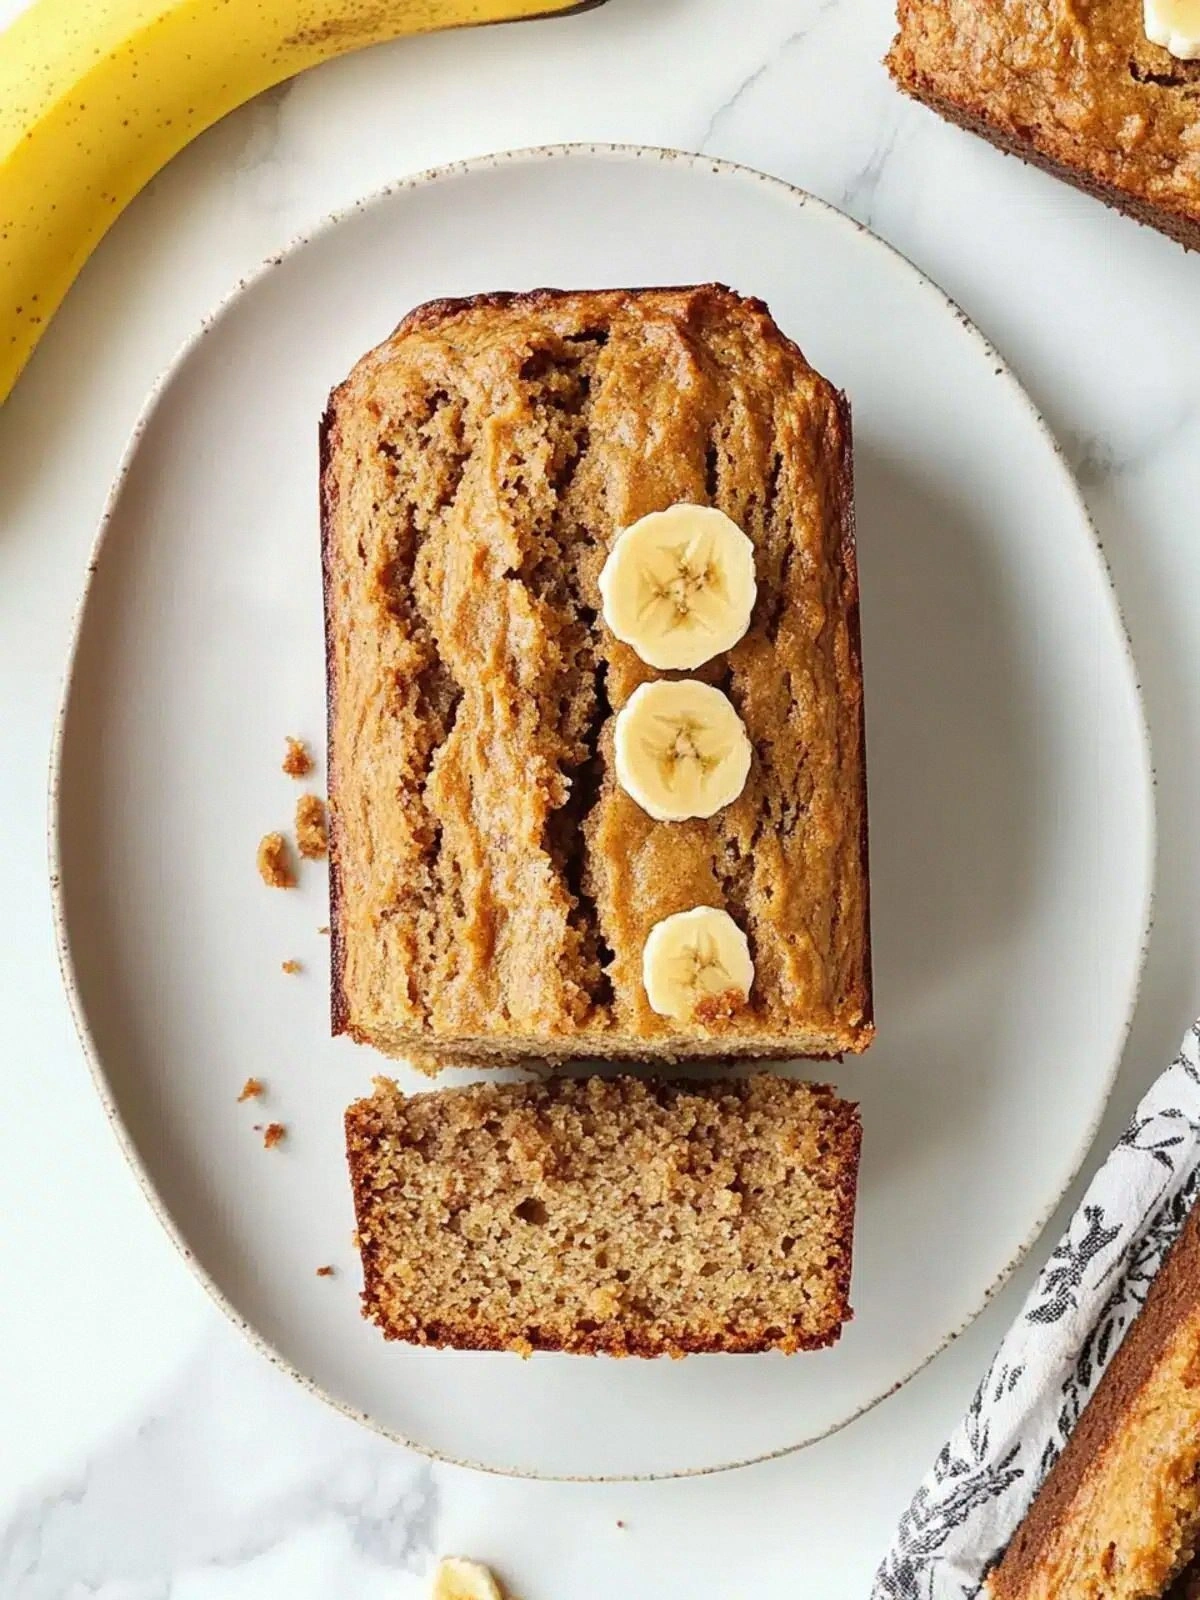
What sets this version apart is the little twist I discovered during a late‑night experiment: a splash of cold milk right before folding the batter. That single splash creates a micro‑crust on the surface when baked, giving the cupcakes a subtle caramelized edge while keeping the inside airy. It’s a technique that sounds simple, but the difference is unmistakable.
I dare you to taste this and not go back for seconds. The first bite melts on your tongue, and the second feels like a second chance. If you’ve ever struggled to get cupcakes that rise evenly, you’re not alone—this is the fix you’ve been looking for.
Let me walk you through every single step—by the end, you’ll wonder how you ever made it any other way. From the moment you whisk the flour to the final dusting of powdered sugar, every detail will be unveiled in a way that feels like a backstage pass to a master baker’s kitchen.
What Makes This Version Stand Out
- Flavor: The vanilla is sourced from Madagascar, giving a rich, buttery undertone that lingers long after the last crumb. It’s the difference between a vanilla cupcake that tastes like a dream and one that feels flat.
- Texture: A subtle micro‑crust forms on the top thanks to the cold milk trick, while the interior stays moist and airy. This contrast is the secret that keeps people coming back.
- Ease: No more measuring leavening powders in fractions or chasing down the perfect ratio. The ingredients are listed in whole numbers, and the process is broken into simple, repeatable steps.
- Versatility: The base can be dressed up with chocolate chips, fruit, or a swirl of caramel. It’s the canvas of every cupcake lover’s imagination.
- Crowd‑pleaser: Whether it’s a birthday, a bake sale, or a quiet Sunday afternoon, these cupcakes win over both kids and adults alike.
- Ingredient Quality: Using high‑grade butter and fresh eggs elevates the flavor profile, turning a basic recipe into a gourmet experience.
- Methodology: The technique of folding the batter gently preserves the air bubbles, preventing dense, heavy cupcakes.
- Make‑ahead Potential: The cupcakes can be baked in advance, refrigerated, and then baked again for a fresh finish. This flexibility makes them a lifesaver for busy hosts.
Alright, let’s break down exactly what goes into this masterpiece…
Inside the Ingredient List
The Flavor Base
The backbone of any cupcake is its flour. I use all‑purpose flour because it provides the right balance of structure and tenderness. If you’re vegan or have dietary restrictions, you can swap in a gluten‑free blend, but the ratio remains the same. Skipping flour would leave you with a sticky mess that won’t rise.
The Sweetness Crew
Granulated sugar is the sweetener that melts into the batter, creating a silky texture. I recommend using a slightly finer sugar if you want a smoother crumb. If you prefer a lighter taste, you can reduce the sugar by a quarter cup, but the cupcakes will be less sweet.
The Leavening Agents
Baking powder and baking soda work together to lift the batter. Baking powder is a single‑ingredient leavener, while baking soda reacts with acidic components in the batter. If you use only one, the cupcakes will not rise evenly. A small pinch of baking soda also adds a subtle depth to the flavor.
The Creamy Touch
Unsalted butter is the key to richness. It melts into the batter, giving the cupcakes a buttery finish that isn’t overpowering. If you use salted butter, you’ll need to reduce the added salt by half to avoid a salty bite. Butter also helps create a tender crumb.
The Egg Power
Eggs act as the binder, holding everything together. They also provide structure and help the cupcakes rise. If you’re avoiding eggs, you can replace each egg with an equal amount of unsweetened applesauce or mashed banana, but the texture will be denser.
The Liquid Harmony
Whole milk adds moisture and a subtle flavor. I use cold milk just before folding to create a micro‑crust on the top. If you prefer a richer taste, replace half the milk with heavy cream. Skipping milk will result in a dry, crumbly cake.
The Vanilla Essence
Pure vanilla extract is the soul of the cupcake. I use a high‑quality vanilla that’s not a cheap imitation. If you’re on a budget, a vanilla bean pod can be sliced and added to the batter for an even more robust flavor.
Everything's prepped? Good. Let's get into the real action…
The Method — Step by Step
- Preheat and Prepare. Set your oven to 350°F (175°C) and line a 12‑cup muffin tin with paper liners. The heat must be even, so place the tin in the center of the oven. This step ensures that each cupcake rises uniformly.
- Dry Mix. In a large bowl, whisk together flour, baking powder, baking soda, and salt. The dry ingredients must be evenly distributed to avoid pockets of unraised batter. I always use a whisk for this because it aerates the mixture.
- Butter and Sugar. Cream softened butter and sugar together in a stand mixer on medium speed until light and fluffy, about 3 minutes. The mixture should double in volume. This process incorporates air, which is essential for a light crumb.
- Eggs. Add the eggs one at a time, beating well after each addition. The batter should be smooth and glossy. If the batter looks curdled, add a tablespoon of milk to bring it back together.
- Vanilla. Stir in vanilla extract. The aroma will fill the kitchen, making the anticipation almost tangible. A little goes a long way, so don’t overdo it.
- Alternating Wet and Dry. Add half of the dry mixture to the batter, then half of the milk, and repeat once more. Mix until just combined; overmixing will create a dense cake. The batter should be thick but pourable.
- Cold Milk Trick. Just before filling the tins, pour a splash of cold milk over the batter. This creates a micro‑crust on the top during baking, giving the cupcakes a subtle caramelized edge. It’s a simple step that makes a huge difference.
- Fill the Tins. Spoon the batter into the liners, filling each about two‑thirds full. This allows room for expansion without overflow. The batter should be evenly distributed.
- Bake. Bake for 18–22 minutes, or until a toothpick inserted in the center comes out clean. The cupcakes should be golden brown on top and slightly firm to the touch. The edges will pull away from the liners when they’re ready.
- Cool. Remove from the oven and let the cupcakes cool in the tin for 5 minutes. Then transfer them to a wire rack to cool completely. This step prevents condensation from making the frosting soggy later.
That's it—you did it. But hold on, I've got a few more tricks that'll take this to another level…
Insider Tricks for Flawless Results
The Temperature Rule Nobody Follows
Many bakers keep their oven at a steady 350°F, but subtle variations can affect the outcome. If your oven runs hot, reduce the temperature by 25°F and bake for an extra 2 minutes. This ensures even baking and prevents burnt tops. I’ve found that using an oven thermometer gives the most accurate readings.
Why Your Nose Knows Best
The scent of baking cupcakes can tell you if they’re done before the timer rings. When the batter starts to caramelize, the smell will be sweet and buttery. Trust your nose; if it’s fragrant, the cupcakes are ready to come out of the oven. This sensory check is a reliable alternative to the toothpick test.
The 5-Minute Rest That Changes Everything
After baking, let the cupcakes rest in the tin for 5 minutes before transferring them. This rest period allows the heat to distribute evenly, preventing soggy bottoms. I’ve seen cupcakes that are still rising after being removed from the oven; the rest step stops that from happening.
Use a Light Touch When Filling
Fill the liners with a light hand to avoid overfilling. Overfilled cupcakes can overflow, leading to uneven baking. Use a piping bag or a spoon to pour, and tap the tin gently to settle the batter.
Keep the Frosting Fresh
If you’re frosting the cupcakes right away, keep the frosting in a sealed container. If you’re storing them, cover each cupcake with wax paper. This prevents the frosting from absorbing odors from the fridge and keeps the cupcakes fresh.
Don’t Skip the Paper Liners
Paper liners not only make cleanup easier but also prevent the cupcakes from sticking to the tin. They also help the cupcakes rise more evenly by providing a consistent surface. I’ve had a few batches where the cupcakes stuck and cracked; the liners saved the day.
Creative Twists and Variations
This recipe is a playground. Here are some of my favorite ways to switch things up:
Chocolate Swirl Surprise
Fold a handful of dark chocolate chips into the batter before filling. The melted chocolate creates pockets of rich flavor. The cupcakes will look glossy and decadent, perfect for a chocolate lover’s party.
Berry Burst
Add fresh blueberries or raspberries to the batter. The berries burst with juice, adding a natural sweetness and a pop of color. This variation is ideal for a summer gathering.
Caramel Drizzle
After frosting, drizzle a thin layer of caramel sauce over the cupcakes. The caramel adds a buttery, slightly salty contrast that elevates the vanilla base. The finish looks elegant and indulgent.
Espresso Kick
Replace half the milk with cold espresso. The coffee enhances the vanilla flavor and adds a subtle bitterness that balances the sweetness. This version is great for an afternoon coffee break.
Herbal Infusion
Infuse the milk with fresh basil or mint before adding it to the batter. The herbs impart a subtle, aromatic note that makes the cupcakes feel fresh and unexpected. This is a unique twist that pairs well with light desserts.
Storing and Bringing It Back to Life
Fridge Storage
Store cupcakes in an airtight container in the refrigerator for up to 3 days. Place a sheet of parchment paper between layers to prevent sticking. The cupcakes will stay moist, and the frosting will remain firm.
Freezer Friendly
Wrap each cupcake individually in plastic wrap, then place them in a freezer bag. They can be frozen for up to 2 months. Thaw at room temperature for 30 minutes before reheating.
Best Reheating Method
Reheat frozen cupcakes in a preheated 350°F oven for 8–10 minutes, or until warmed through. If you’re short on time, microwave on low power for 20–30 seconds. Add a tiny splash of water before reheating to create steam, which keeps the cupcakes from drying out.