Love this? Pin it for later! 📌
There's something magical about coming home to the aroma of a warm, comforting chili that's been slowly developing flavors all day. As a busy mom of three picky eaters, I've perfected this kid-friendly white chicken chili that has become our family's most requested dinner. The first time I made it, my youngest declared it "the best soup in the whole wide world" – and that was before she even tasted it! The fragrant spices and creamy texture had already won her over.
This slow cooker chicken and white bean chili has become my secret weapon for those hectic weekdays when I know I'll be rushing between after-school activities and homework battles. I can toss everything into the crockpot in the morning, and by dinner time, we have a nutritious, protein-packed meal that even my vegetable-averse middle child devours. The beauty of this recipe lies in its gentle flavors – no overwhelming heat, just a subtle warmth that kids love. It's perfect for those crisp fall evenings, snowy winter weekends, or even as a comforting summer dinner when you don't want to heat up the kitchen.
Why This Recipe Works
- Kid-Approved Flavors: Mild spices and a creamy texture make this chili approachable for even the pickiest eaters
- Set-And-Forget Convenience: Just 10 minutes of prep in the morning gives you a complete dinner ready when you walk in the door
- Hidden Nutrition: White beans provide fiber and protein while the mild flavors disguise their presence from skeptical kids
- Budget-Friendly: Uses affordable chicken thighs and pantry staples to create a restaurant-quality meal for pennies per serving
- Perfect for Leftovers: Tastes even better the next day, making lunchboxes a breeze
- Customizable Heat: Easy to adjust spice levels for different family members without compromising flavor
- One-Pot Wonder: Minimal cleanup required – just rinse out your slow cooker insert and you're done!
- Freezer-Friendly: Make a double batch and freeze half for those nights when cooking feels impossible
Ingredients You'll Need
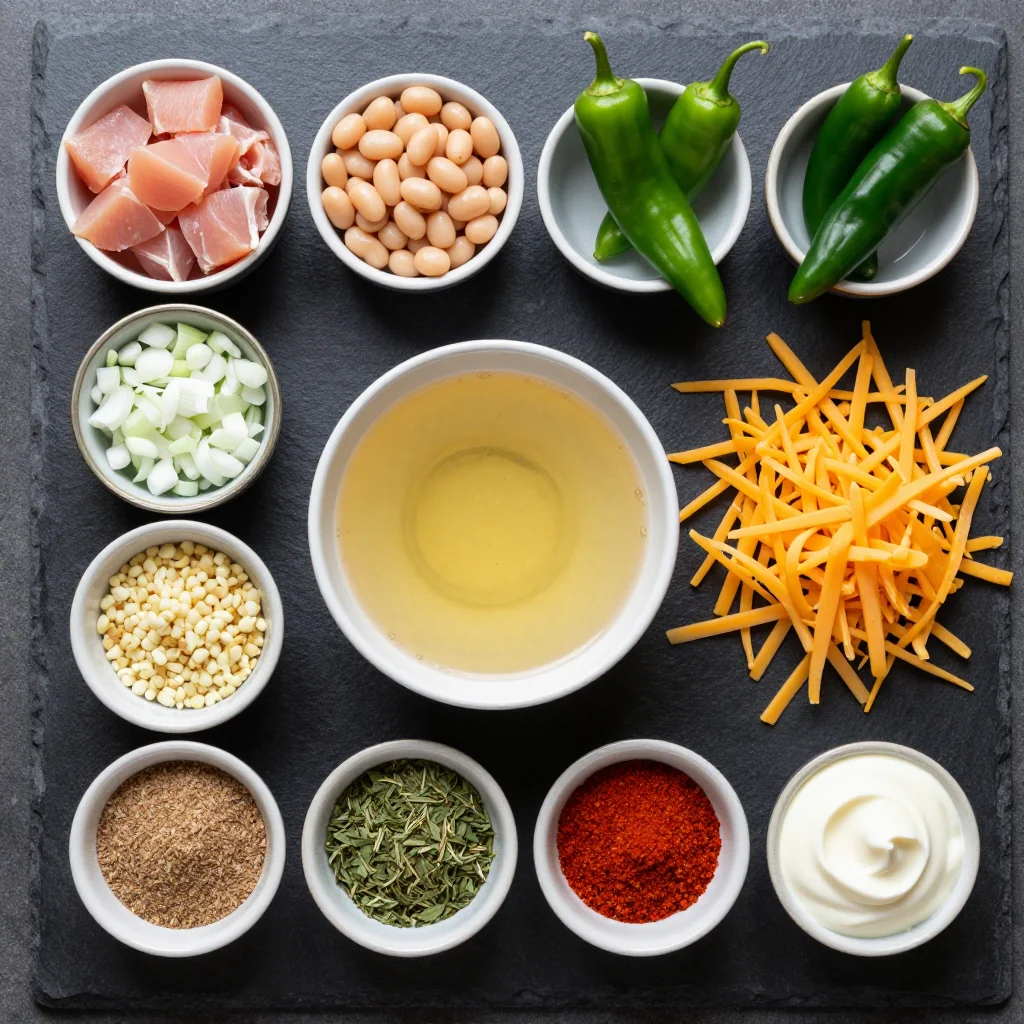
The magic of this chili lies in its simple, wholesome ingredients that work together to create something truly special. Each component has been carefully selected to maximize flavor while remaining kid-friendly. Let me walk you through what makes each ingredient shine and share my favorite tips for selecting the best quality items.
Chicken Thighs (2 pounds boneless, skinless): I always recommend thighs over breasts for slow cooking – they stay incredibly tender and flavorful even after hours of cooking. The natural fat content keeps the meat from drying out, and they shred beautifully into the chili. Look for organic, free-range chicken if your budget allows. You can often find great deals on family packs that you can portion out for multiple meals.
Great Northern Beans (3 cans, drained and rinsed): These mild, creamy beans are perfect for kids who might be wary of beans. They have a delicate flavor and soft texture that practically melts into the chili. If you're cooking from dried beans, you'll need about 1½ cups dried beans, soaked overnight and cooked until tender. Canned beans are a perfectly acceptable shortcut for busy families – just be sure to rinse them well to remove excess sodium.
Chicken Broth (4 cups, low sodium): The foundation of our chili, good quality broth makes all the difference. I prefer low-sodium varieties so I can control the salt level. If you have homemade chicken stock, this is where it truly shines. For an extra depth of flavor, try using bone broth – kids won't notice the difference, but you'll be sneaking in extra nutrients.
White Onion (1 medium, finely diced): White onions have a milder, slightly sweet flavor that works beautifully in this chili. I dice them quite small so they disappear into the broth – my kids don't even know they're there! If you have particularly picky eaters, you can even grate the onion on a box grater for ultimate invisibility.
Garlic (4 cloves, minced): Fresh garlic provides the aromatic backbone of this dish. I know four cloves might seem like a lot, but the slow cooking process mellows it significantly. If you must use pre-minced garlic, use about 2 teaspoons, but honestly, fresh is worth the extra minute of prep time.
Green Chiles (2 cans, 4 ounces each, mild): These provide that authentic chili flavor without any real heat. I always buy mild green chiles specifically for the kids – they add a subtle tang and depth that makes the chili taste restaurant-worthy. Don't skip these! They're not spicy at all, just flavorful.
Ground Cumin (2 teaspoons): The quintessential chili spice. Cumin adds that warm, earthy flavor that makes this taste like chili rather than just soup. I always buy whole cumin seeds and grind them fresh when I have time – the difference is remarkable. For the kids' version, we use a moderate amount, but feel free to increase it if your family enjoys the flavor.
Dried Oregano (1 teaspoon): A little goes a long way, but oregano adds that authentic Southwestern flavor. Mexican oregano, if you can find it, has a more robust flavor than Mediterranean oregano, but either will work beautifully.
Smoked Paprika (1 teaspoon): This is my secret weapon for adding depth without heat. The smoky flavor makes the chili taste like it's been simmering over a campfire. Regular paprika works in a pinch, but the smoked variety is worth seeking out.
Cream Cheese (8 ounces, softened): This is what transforms our chili from brothy to luxuriously creamy. I always use full-fat cream cheese – it melts smoothly and creates that stick-to-your-ribs texture that kids love. Let it sit on the counter for at least 30 minutes before adding it to ensure it incorporates smoothly.
Monterey Jack Cheese (2 cups, shredded): The mildest of melting cheeses, Monterey Jack adds richness without overwhelming the delicate flavors. I always shred my own – pre-shredded cheese contains anti-caking agents that can make your chili grainy. This is a great job for kids to help with if you have a box grater with safety features.
Frozen Corn (1 cup): Sweet corn adds pops of color and natural sweetness that kids adore. It also stretches the chili a bit further while adding nutrition. No need to thaw – just toss it in frozen during the last hour of cooking.
Fresh Lime Juice (from 2 limes): A squeeze of fresh lime right before serving brightens all the flavors and makes the chili taste incredibly fresh. It's amazing how this simple addition transforms the entire dish. If your kids are skeptical, serve it on the side for the adults.
How to Make Slow Cooker Chicken and White Bean Chili for Kids
Prep Your Ingredients
Start by dicing your chicken thighs into 1-inch pieces. I like to partially freeze them for about 20 minutes – this makes them much easier to cut neatly. While the chicken is in the freezer, dice your onion finely and mince the garlic. Drain and rinse your beans thoroughly in a colander under cold water – this removes excess sodium and that starchy liquid that can muddy the flavors. Measure out all your spices into a small bowl so they're ready to go – this is called "mise en place" and it makes the whole process much smoother.
Layer the Base
Add the diced chicken to your slow cooker insert, spreading it in an even layer. Sprinkle the chopped onion and minced garlic over the top. In a separate bowl, whisk together the chicken broth, cumin, oregano, smoked paprika, and a teaspoon of salt. Pour this fragrant mixture over the chicken and vegetables. The aroma will already be making your kitchen smell amazing!
Add the Magic Ingredients
Now for the ingredients that make this chili special – drain the green chiles and scatter them over the chicken mixture. They'll look like little green specks of flavor gold. Add two cans of the drained white beans, reserving the third can for later (this gives you a nice mix of whole and creamy beans). Give everything a gentle stir, being careful not to break up the chicken pieces too much.
Set It and Forget It
Cover your slow cooker and set it to cook on LOW for 6-7 hours or HIGH for 3-4 hours. I prefer the low and slow method – it gives the flavors time to meld beautifully and ensures the chicken becomes fork-tender. Resist the urge to lift the lid during cooking! Every time you peek, you add 15-20 minutes to your cooking time. Trust the process and let the magic happen.
Create the Creamy Base
When you have about 30 minutes left in the cooking time, it's time to create that luxurious, creamy texture that makes this chili special. Remove about 1 cup of beans from the slow cooker and mash them thoroughly with a fork or potato masher. Return the mashed beans to the pot – this is your natural thickener that eliminates the need for flour or cornstarch. It also helps the cream cheese incorporate more smoothly later.
Add the Final Touches
Now comes the transformation from good chili to extraordinary chili. Cut your softened cream cheese into 1-inch cubes and dot them across the surface of the chili. Add the remaining can of white beans and the frozen corn. Cover and continue cooking for the final 30 minutes. The cream cheese will slowly melt and create pockets of creamy goodness throughout the chili.
Shred the Chicken
Once the cooking time is complete, use two forks to gently shred the chicken directly in the slow cooker. The meat should be so tender that it practically falls apart. I like to leave some larger pieces for texture, but you can shred it as finely as your family prefers. If you have little ones who are suspicious of visible meat, shredding it completely helps it blend into the chili.
Finish with Cheese
Sprinkle the shredded Monterey Jack cheese over the top of the chili and cover for 5-10 minutes, just until the cheese melts. The residual heat will do all the work. Give everything a final gentle stir to incorporate the melted cheese throughout. This creates those amazing cheese pulls that kids love while adding an extra layer of richness.
Season to Perfection
Now comes the crucial moment – taste and adjust the seasoning. You might be surprised how much salt the beans and chicken absorbed during cooking. Start with ½ teaspoon of salt and add more as needed. Freshly ground black pepper adds a nice touch, but go easy if serving to kids. The lime juice goes in right before serving – squeeze it over individual bowls for those who enjoy the bright, fresh flavor.
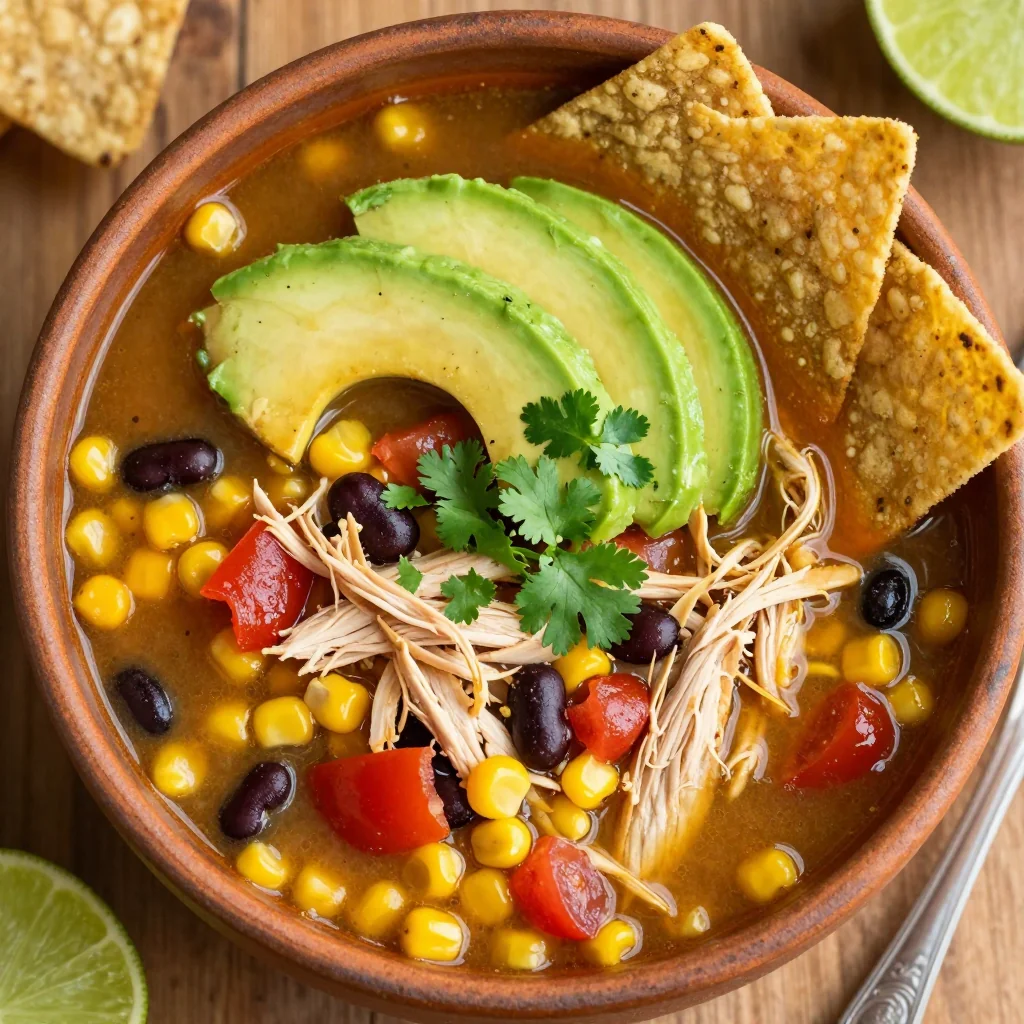
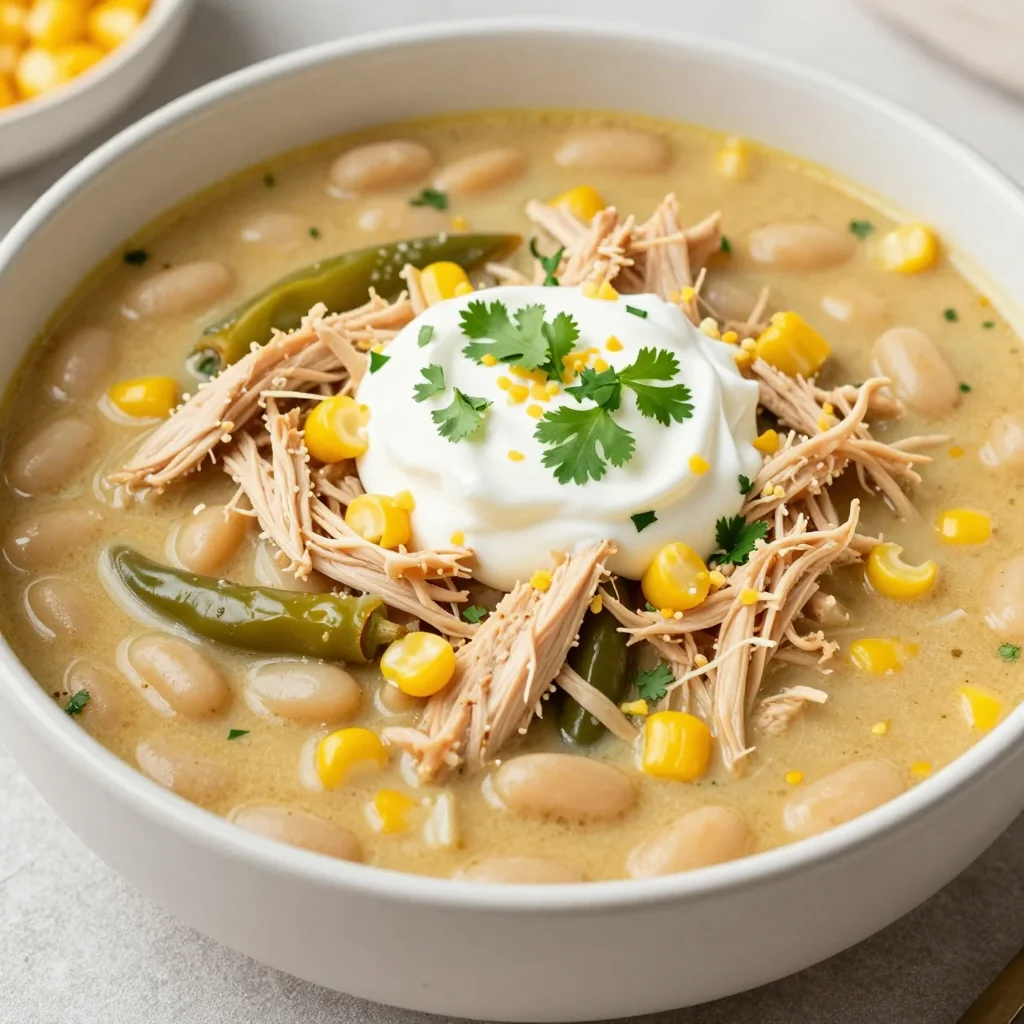
Serve and Enjoy
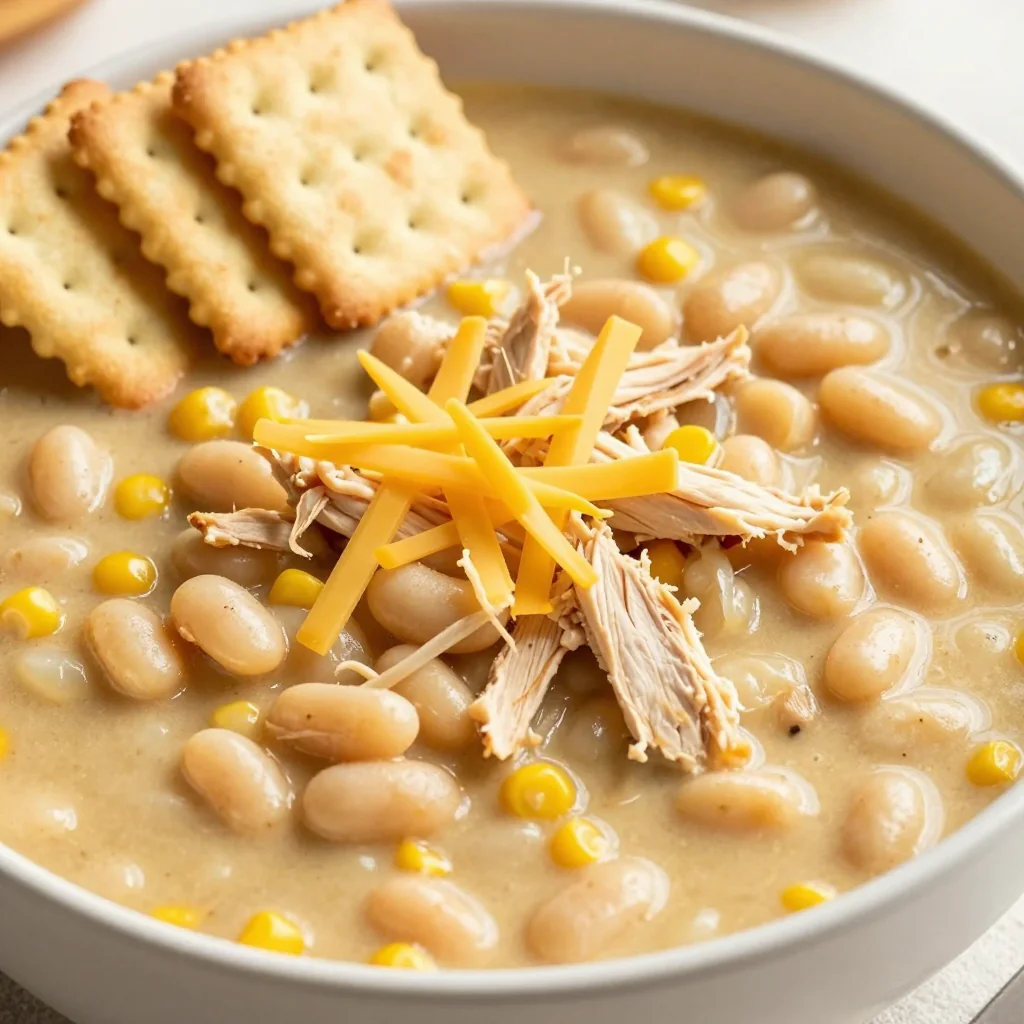
Ladle the chili into bowls and let everyone customize their own toppings. Kids love having control over their food! Offer lime wedges, extra cheese, sour cream, diced avocado, or even crushed tortilla chips for crunch. My kids' favorite is a simple sprinkle of extra cheese and a few corn chips on top. Serve with warm cornbread or crusty rolls for a complete, satisfying meal that will have everyone asking for seconds.
Expert Tips
Overnight Prep Magic
Save even more time by prepping everything the night before. Cut the chicken, chop vegetables, and measure spices, storing them in separate containers in the refrigerator. In the morning, just layer everything in the slow cooker. You can even assemble everything in the insert, cover it, and refrigerate overnight. Just set it on the counter for 20 minutes before turning it on to prevent thermal shock.
Temperature Safety
Always ensure your chicken reaches 165°F (74°C) for food safety. If you're concerned, use a meat thermometer to check a few pieces after shredding. The chicken should be opaque throughout with no pink remaining. Don't worry if it looks a bit dry before adding the cream cheese – that's normal and will be remedied by the creamy additions.
Consistency Control
If your chili is too thick after adding the cream cheese, simply stir in additional chicken broth until it reaches your desired consistency. If it's too thin, mash more beans or let it cook uncovered for 15-20 minutes to evaporate excess liquid. Every slow cooker is different, so don't be afraid to adjust!
Cream Cheese Success
The key to smooth, lump-free cream cheese is ensuring it's fully softened before adding it to the hot chili. If you forgot to take it out of the fridge, you can microwave it for 10-15 seconds at 50% power. Cut it into small pieces and let it sit in the warm chili for a few minutes before stirring to prevent cold cream cheese from seizing up.
Make-Ahead Magic
This chili tastes even better the next day as the flavors continue to meld in the refrigerator. Make a double batch on Sunday and enjoy it for quick weeknight dinners. It reheats beautifully on the stovetop or in the microwave, and you can even freeze individual portions for those nights when cooking feels impossible.
Color Psychology
Kids eat with their eyes first! If you have particularly picky eaters, serve this in colorful bowls and let them add their own toppings. A sprinkle of bright green cilantro, some yellow corn chips, or a dollop of white sour cream makes the meal more visually appealing and gives them control over their food choices.
Variations to Try
Vegetable Boost Version
Sneak in extra nutrition by adding finely diced zucchini, carrots, or bell peppers. Dice them very small and sauté them with the onions until soft before adding to the slow cooker. The vegetables will disappear into the chili while adding vitamins and fiber. Sweet potatoes, diced small, also work wonderfully and add a subtle sweetness that kids love.
Adult Heat Version
For the grown-ups who enjoy more heat, add a diced jalapeño or serrano pepper to the onion mixture, or stir in ½ teaspoon of cayenne pepper with the other spices. You can also offer hot sauce on the side so each person can customize their heat level. Chipotle peppers in adobo sauce, minced fine, add amazing smoky heat for adventurous eaters.
Dairy-Free Option
Replace the cream cheese with ½ cup of coconut milk or cashew cream, and use nutritional yeast or dairy-free cheese shreds instead of the Monterey Jack. The result is still creamy and satisfying without any dairy. You might need to add an extra tablespoon of lime juice to brighten the flavors when using coconut milk.
Tex-Mex Twist
Add a packet of taco seasoning along with the other spices, substitute black beans for half the white beans, and add a can of diced tomatoes with green chiles (Rotel style). Top with crushed tortilla chips, sliced black olives, and a dollop of guacamole for a fun twist that transforms this into a completely different meal while maintaining its kid-friendly appeal.
Storage Tips
Refrigerator Storage
Store cooled chili in an airtight container in the refrigerator for up to 4 days. I like to portion it into individual containers for easy grab-and-go lunches. The chili will thicken considerably as it cools – this is completely normal and actually makes it even more flavorful. When reheating, you may need to add a splash of chicken broth or water to reach your desired consistency.
Pro tip: Let the chili cool completely before refrigerating. Hot food can raise the temperature inside your fridge, potentially compromising food safety for other items. Speed up cooling by transferring to shallow containers or placing the pot in an ice bath for 30 minutes.
Freezer Instructions
This chili freezes beautifully for up to 3 months. Let it cool completely, then transfer to freezer-safe containers or zip-top bags. I prefer using quart-size bags laid flat – they freeze quickly and stack efficiently. Remove as much air as possible to prevent freezer burn. Label with the contents and date, and include reheating instructions for babysitters or future you!
Thawing method: Thaw overnight in the refrigerator or use the defrost setting on your microwave. You can also place the frozen block directly in a pot with a splash of broth and heat over medium-low, stirring occasionally, until heated through.
Reheating Methods
For best results, reheat on the stovetop over medium-low heat, stirring frequently and adding broth as needed. Microwave reheating works too – heat in 60-second intervals, stirring between each interval, until hot. If the chili has separated during storage (this is normal with dairy), just whisk it vigorously while reheating. The cream cheese may look slightly grainy after freezing, but it will smooth out as it heats.
School lunch hack: Pack cold chili in a thermos with a tight-fitting lid. It will stay safely warm until lunchtime, and many kids actually prefer it at room temperature. Include a small container of cheese or crushed chips for sprinkling on top.
Frequently Asked Questions
Yes, you can substitute chicken breasts, but I recommend using boneless, skinless thighs for the best results. Thighs have more fat and connective tissue, which means they stay moist and tender during the long cooking process. If you must use breasts, reduce the cooking time by 30-60 minutes and consider adding an extra tablespoon of olive oil to prevent dryness. The chicken should reach 165°F but be careful not to overcook, as breasts can become stringy in the slow cooker.
While you can omit the beans, I'd encourage you to try hiding them first! Mash all the beans completely so they disappear into the chili, providing thickness and nutrition without the visible "bean" texture. If your kids absolutely refuse, increase the chicken to 2½ pounds and add an extra cup of corn. You might also try substituting cannellini beans, which have the mildest flavor of all white beans, or using great northern beans which are naturally creamier and less "beany" tasting.
This recipe is designed to be mild, but if you've accidentally made it too spicy, there are several ways to tone it down. Stir in an extra 4 ounces of cream cheese or ½ cup of sour cream to dilute the heat. You can also add a teaspoon of honey or sugar to balance the spice, or serve with plenty of cooling toppings like sour cream, avocado, or extra cheese. For future batches, reduce the green chiles to one can or use mild diced tomatoes instead of Rotel-style tomatoes with chiles.
Absolutely! For stovetop cooking, use a heavy-bottomed pot or Dutch oven. Sauté the onions and garlic in 2 tablespoons of olive oil until soft, then add the chicken and cook until no longer pink. Add the broth, spices, green chiles, and 2 cans of beans. Simmer covered for 30-40 minutes, then proceed with mashing some beans and adding the cream cheese and remaining ingredients. Cook for an additional 10 minutes until everything is heated through and the cream cheese is fully incorporated.
To make this vegetarian, substitute the chicken with 2 cans of chickpeas or 1 pound of firm tofu, cubed. Use vegetable broth instead of chicken broth, and add an extra can of beans for protein. You might also consider adding 1 cup of quinoa (rinsed) along with the broth – it will cook during the slow cooking process and provide complete protein. For extra flavor, add a tablespoon of soy sauce or nutritional yeast to provide umami depth that the chicken would normally contribute.
Many newer slow cookers run hotter than older models. If you suspect yours runs hot, reduce the cooking time by 30-60 minutes and check for doneness earlier. You can also place a clean kitchen towel under the lid to absorb excess moisture and prevent boiling. Some cooks even prop the lid open slightly with a wooden spoon to regulate temperature. If your chili is done early, switch to the warm setting – it will stay perfectly hot without overcooking the delicate ingredients like cream cheese.
Slow Cooker Chicken and White Bean Chili for Kids
Ingredients
Instructions
- Prep the ingredients: Cut chicken into 1-inch pieces, dice onion, mince garlic, and drain/rinse beans.
- Layer in slow cooker: Add chicken, onion, garlic, and 2 cans of beans to slow cooker.
- Add broth and spices: Whisk together broth, cumin, oregano, and paprika. Pour over chicken mixture.
- Add green chiles: Drain green chiles and scatter over the top. Do not stir yet.
- Cook: Cover and cook on LOW for 6-7 hours or HIGH for 3-4 hours, until chicken is tender.
- Create creamy base: Remove 1 cup beans, mash with fork, return to chili. Add cream cheese cubes and remaining beans.
- Final additions: Add frozen corn and shredded cheese. Cover and cook 30 minutes more.
- Finish and serve: Shred chicken with forks, stir in lime juice, season with salt and pepper. Serve hot with desired toppings.
Recipe Notes
For extra creamy chili, mash 1½ cups of beans instead of just 1 cup. Leftovers thicken considerably – thin with broth when reheating. This recipe doubles beautifully for large families or meal prep. Kids particularly enjoy toppings like crushed tortilla chips, extra cheese, or a dollop of sour cream.