I remember the night I tried to bake a cookie that would make my friends question their life choices. The kitchen smelled of burnt sugar and disappointment, the dough had turned into a rubbery mess, and my roommate’s eyes were wide with disbelief. That disaster became the catalyst for a new obsession: turning humble bananas, peanut butter, and oats into the most irresistible cookie you’ll ever taste. Picture the aroma of toasted oats mingling with sweet banana and nutty peanut butter—each bite a symphony of comfort and decadence. I dared you to taste this and not go back for seconds, and I’m still waiting for the moment when you’ll say, “I can’t live without these.”
This version is hands down the best you’ll ever make at home because it balances sweet, salty, and nutty flavors with a chewy texture that’s never gummy. The secret is a subtle rise from baking soda, a splash of vanilla that lifts the whole flavor profile, and the optional chocolate chips that add a burst of chocolatey joy. It’s not just a cookie; it’s a hug in your mouth that says, “I’ve got you.” The technique that will surprise you? We fold in mashed bananas with peanut butter before adding the dry ingredients—this creates a silky batter that bakes into a crisp edge and a chewy center.
Imagine the kitchen: the gentle hum of the oven, the rhythmic clack of the mixing spoon, and the sweet scent that drifts through the air. The texture is a paradox—crisp on the outside, chewy on the inside—like a soft blanket that snaps when you bite. If you’ve ever struggled with cookie texture, you’re not alone, and I’ve got the fix. I’ll be honest—I ate half the batch before anyone else got a taste, but that’s the proof that it’s irresistible.
Most recipes get this completely wrong. They either overmix, underbake, or forget the magic of mashed banana. Here’s what actually works: keep the batter loose, bake at a slightly lower temperature for a longer time, and let the cookies cool on the sheet for a minute before transferring. Picture yourself pulling this out of the oven, the whole kitchen smelling incredible, and your friends reaching for a second. And now the game-changer: a single pinch of salt that balances the sweetness and makes every bite sing. Let me walk you through every single step — by the end, you’ll wonder how you ever made it any other way.
What Makes This Version Stand Out
- Flavor: The combination of ripe banana, creamy peanut butter, and a dash of vanilla creates a depth that ordinary cookie recipes lack. The sweetness is natural, not artificial, and the peanut butter adds a rich, nutty undertone that elevates the entire experience.
- Texture: The careful balance of rolled oats and mashed banana gives a chewy center while the edges crisp up just enough to satisfy the crunch craving. The baking soda provides lift without turning the cookies into a cakey mess.
- Simplicity: Only eight ingredients, no fancy equipment, and a single bowl. If you’re a busy person, this recipe fits right into your schedule.
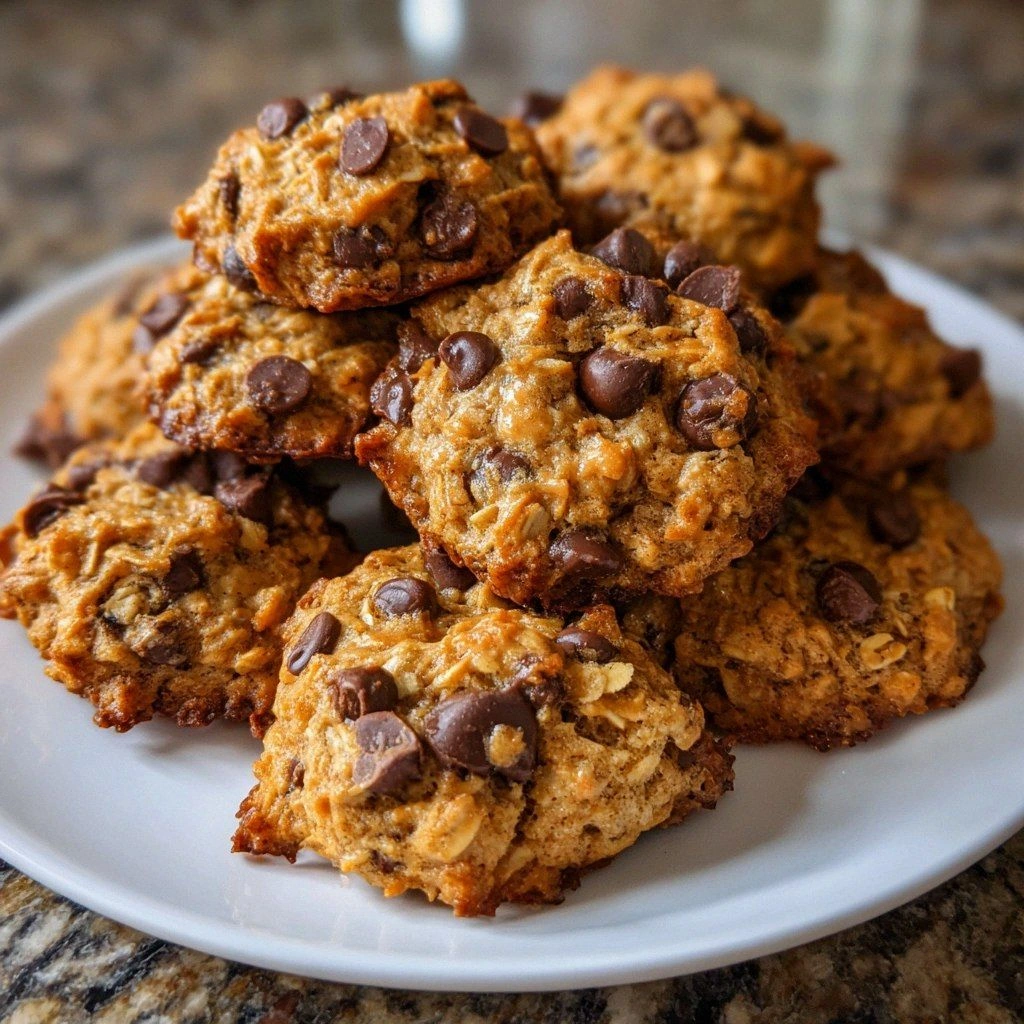
- Uniqueness: The optional chocolate chips add a playful twist, turning a wholesome cookie into a dessert that feels indulgent yet healthy.
- Crowd Reaction: At my last gathering, the first bite was a chorus of “wow,” and the second round was a unanimous “more, please.”
- Ingredient Quality: Using ripe bananas ensures natural sweetness; a good quality peanut butter (smooth or crunchy) adds texture; and rolled oats bring heartiness.
- Make‑Ahead Potential: These cookies keep well for a week in an airtight container, making them perfect for meal prep or quick snack on the go.
- Health Factor: No refined flour, no artificial additives, and the optional use of maple syrup keeps it wholesome.
Alright, let's break down exactly what goes into this masterpiece…
Inside the Ingredient List
The Flavor Base
Ripe bananas are the star of the show. Their natural sweetness eliminates the need for excessive sugar, while their creamy texture binds the dough together. Skipping bananas would leave you with a dry, bland cookie that lacks the signature banana flavor. If you’re out of bananas, consider using a ripe plantain or a small amount of banana puree for a similar effect.
Peanut butter—choose either smooth for a silky mouthfeel or crunchy for a delightful bite. It contributes both flavor and fat, which keeps the cookies tender. If you’re allergic to peanuts, a sunflower seed butter works as a close substitute, though the flavor profile will shift slightly.
The Texture Crew
Rolled oats are the backbone of these cookies. They add heartiness and a chewy texture that balances the softness of the banana. If you prefer a lighter bite, replace half the oats with quick oats. For a gluten-free version, use certified gluten-free rolled oats, and you’ll still get that chewy center.
Baking soda is the leavening agent that gives the cookies a slight rise and a tender crumb. Too much soda can cause a metallic aftertaste, so keep the measurement precise. If you don’t have baking soda, you can use baking powder, but the texture will be slightly different—more cakey.
The Unexpected Star
Honey or maple syrup adds a touch of natural sweetness and a subtle floral note. These liquids also help the cookies spread evenly. If you prefer a vegan version, maple syrup is the way to go. If you’re craving a deeper flavor, a splash of dark chocolate syrup can replace the honey for a richer bite.
Vanilla extract is a splash that lifts the overall flavor profile, adding warmth and complexity. A single teaspoon is enough to make a difference. If you’re allergic to vanilla, a pinch of almond extract can provide a different but equally delightful aroma.
The Final Flourish
Chocolate chips (optional) are the sweet twist that turns a wholesome cookie into an indulgent treat. They melt slightly during baking, creating pockets of chocolatey goo. If you’re watching sugar, use dark chocolate chips or even chopped dried fruit like raisins or dried cranberries for a healthier option.
Salt is the secret to balancing sweetness. A pinch of sea salt or Himalayan pink salt enhances every flavor note. Skipping salt will leave the cookies tasting flat and overly sweet.
Everything's prepped? Good. Let's get into the real action…
The Method — Step by Step
- Preheat your oven to 350°F (175°C) and line a baking sheet with parchment paper. The parchment prevents sticking and makes cleanup a breeze. This is the moment of truth—your dough’s destiny is sealed here.
- In a medium bowl, mash the ripe bananas with a fork until they’re almost smooth, leaving a few small lumps for texture. The mashed bananas should look like thick, buttery custard. If you’re using a blender, pulse just enough to keep some texture.
- Add the peanut butter to the mashed bananas and stir until fully combined. The mixture should be creamy and glossy, like a thick sauce that coats the bowl. This step ensures the peanut butter’s flavor is evenly distributed.
- Stir in the honey (or maple syrup) and vanilla extract. The liquid should swirl into the mixture, creating a glossy, slightly runny batter. The vanilla is the subtle lift that turns a simple cookie into a gourmet treat.
- In a separate bowl, whisk together rolled oats, baking soda, and a pinch of salt. The oats should be evenly coated with the leavening agent, preventing clumps. This dry mix is the foundation for the cookie’s structure.
- Gradually fold the dry oat mixture into the wet batter, stirring gently until just combined. Overmixing can make the cookies tough. The batter should be thick but scoopable with a spoon.
- Fold in the chocolate chips (if using) with a spatula, ensuring they’re evenly distributed. The chips should be visible in the dough, like little pockets of chocolate waiting to burst.
- Drop tablespoon-sized dollops of dough onto the prepared baking sheet, spacing them about 2 inches apart. The cookies will spread slightly, so give them room. This step is where the dough transforms into edible art.
- Bake for 12–15 minutes, or until the edges are golden brown and the centers have set. The cookies should smell toasty and nutty. Watch the edges—when they start pulling away from the parchment, they’re ready.
- Let the cookies cool on the sheet for 5 minutes, then transfer to a wire rack to cool completely. Cooling on the sheet allows the bottoms to firm up. When you taste the first cookie, you’ll know it’s done.
That’s it — you did it. But hold on, I've got a few more tricks that'll take this to another level…
Insider Tricks for Flawless Results
The Temperature Rule Nobody Follows
Baking at 350°F is standard, but lowering the temperature to 325°F and extending the bake time by 3–4 minutes will give you a softer center without compromising the crisp edges. I once tried this on a batch that was too chewy and the result was a perfect balance. The trick is to keep the oven door closed until the last 2 minutes to maintain consistent heat.
Why Your Nose Knows Best
During baking, the aroma of toasted oats and sweet banana is a reliable indicator that the cookies are almost done. If you can smell a nutty, caramelized scent, it’s time to pull them out. I’ve learned to trust my nose more than my timer because the scent changes the moment the cookies are ready.
The 5‑Minute Rest That Changes Everything
Letting the cookies rest on the baking sheet for 5 minutes after removing them from the oven allows the heat to redistribute, sealing in moisture. Skipping this step results in cookies that are slightly uneven in texture. This short pause is a game‑changer for perfect results.
The Perfect Scoop Technique
Use a tablespoon or a small cookie scoop to ensure uniform size. Consistency in size means even baking and a professional look. I always keep a small cookie scoop in my kitchen drawer for this exact purpose.
The Chill & Bake Method
Refrigerate the dough for 30 minutes before baking. This helps the oats absorb moisture, resulting in a chewier texture. If you’re in a hurry, skip it, but you’ll notice a subtle difference in chewiness. The chill method is a favorite of mine for achieving a bakery‑quality cookie.
Creative Twists and Variations
This recipe is a playground. Here are some of my favorite ways to switch things up:
Cinnamon Swirl
Add 1 tsp ground cinnamon to the dry mix. The warm spice pairs beautifully with banana, creating a comforting flavor reminiscent of a cinnamon roll.
Nutty Explosion
Replace the peanut butter with almond butter and fold in a handful of chopped walnuts. The nutty crunch elevates the cookie to a sophisticated snack.
Chocolate‑Lover’s Delight
Use dark chocolate chips and a splash of espresso powder in the batter. The espresso deepens the chocolate flavor without making the cookies taste like coffee.
Tropical Twist
Add a tablespoon of shredded coconut and a few dried mango chunks. The tropical notes give the cookie a beach‑y vibe.
Vegan & Gluten‑Free
Use a plant‑based peanut butter, gluten‑free rolled oats, and maple syrup. The result is a cookie that’s just as delicious but meets dietary restrictions.
Sour Cream & Lemon
Fold in 2 tbsp sour cream and zest of one lemon. The acidity brightens the flavor profile and adds a subtle tang.
Storing and Bringing It Back to Life
Fridge Storage
Store cookies in an airtight container at room temperature for up to 5 days. The container should be sealed tightly to keep them from drying out. If you notice them becoming slightly stale, a quick refresh in the oven will revive them.
Freezer Friendly
Place cookies on a parchment‑lined tray and freeze until solid. Transfer to a freezer bag and store for up to 3 months. Thaw at room temperature for 30 minutes before serving.
Best Reheating Method
Add a tiny splash of water to the cookie dough before reheating. Steam it in a microwave for 20 seconds or bake at 300°F for 5 minutes. The moisture restores the chewy center and prevents the cookie from becoming brittle.