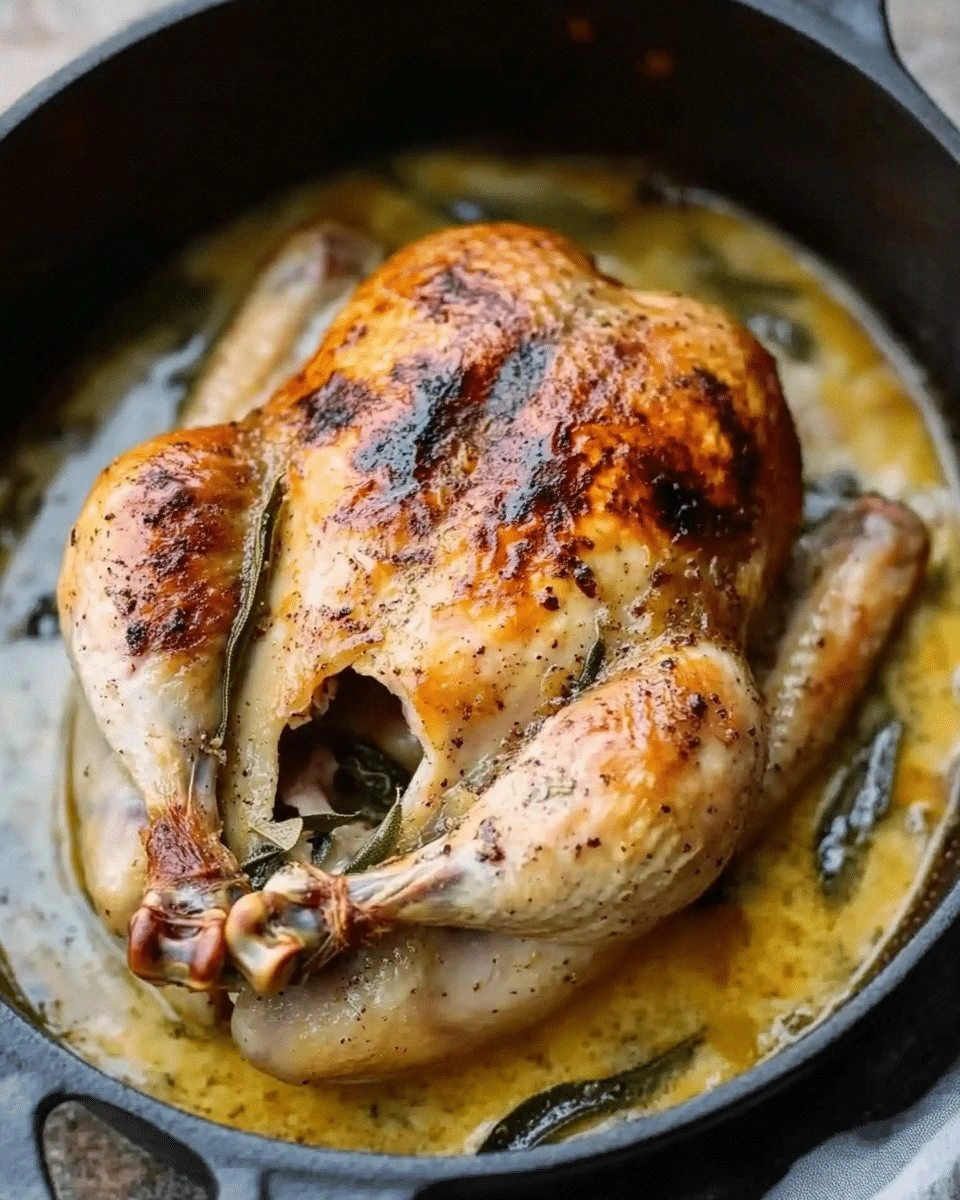
I was halfway through a chaotic Sunday dinner when the oven alarm blared, and my casserole was a soggy, unappetizing mess. The chicken had browned, the sauce had thickened, but the whole thing had lost its luster—flavors flat, texture mushy, and an unholy scent of overcooked dairy. I stared at the pot, feeling the familiar dread of a recipe gone wrong, and thought, “If this is how it ends, I need a better plan.” That moment sparked a mission: to create a Chicken in Milk that sings, not sighs.
Picture this: a golden crust crackling as the pan heats, the rich aroma of roasted garlic mingling with the gentle, sweet perfume of simmering milk. The sound of a spoon gliding through a silky sauce, the sight of tender chicken bathed in a velvety glaze, and the feel of a perfectly balanced bite—juicy inside, crisp outside, with a whisper of herbs that dance on the tongue. I could almost taste the subtle tang of lemon zest against the mellow butter, and hear the satisfying pop of the sauce as it thickens. This sensory tapestry is the promise of every bite in this version.
What sets this rendition apart is not just the ingredients but the method that locks in flavor and texture. I’ve refined the technique to avoid the dreaded “milk burns” and to coax a silky coating that clings to the chicken like a second skin. The result is a dish that feels luxurious yet comforting, with a depth that makes even the simplest ingredients sing. The secret? A careful balance of heat, timing, and a dash of patience that turns an ordinary pot into a culinary stage.
And there’s a twist that will make your taste buds do a double-take: a subtle splash of lemon zest at the end, brightening the richness and cutting through the dairy with a citrus lift. I dare you to taste this and not go back for seconds. Let me walk you through every single step — by the end, you’ll wonder how you ever made it any other way.
What Makes This Version Stand Out
- Flavor: A harmonious blend of roasted garlic, thyme, and a hint of lemon zest creates a complex profile that feels both hearty and bright.
- Texture: The sauce coats the chicken like velvet, while the crust remains crisp, giving each bite a satisfying contrast.
- Simplicity: With just a handful of pantry staples, you can achieve restaurant‑level results without a trip to the grocery store.
- Uniqueness: The combination of milk and flour creates a gentle, creamy base that elevates the dish beyond typical chicken casseroles.
- Crowd Reaction: Friends and family rave about the melt‑in‑your‑mouth tenderness and the aroma that fills the kitchen.
- Ingredient Quality: Using fresh herbs and whole milk unlocks flavors that processed ingredients simply can’t match.
- Cooking Method: Slow, steady browning followed by gentle simmering preserves moisture and develops depth.
- Make‑Ahead Potential: The dish can be prepared ahead and reheated without losing its lusciousness.
Inside the Ingredient List
The Flavor Base
Chicken Thighs: The backbone of this dish, bone‑in, skin‑on thighs hold moisture and develop a savory crust. Cutting them into even pieces ensures uniform cooking. If you skip thighs, the dish loses depth and the sauce becomes too thin.
Garlic: Roasted garlic caramelizes sugars, turning sharpness into sweet complexity. It also imparts a subtle, almost buttery aroma that permeates the entire pot. Without garlic, the dish feels flat and incomplete.
Onion: Adds sweetness and body; sautéed until translucent, it creates a fragrant base. If omitted, the sauce loses its mellow foundation and the chicken’s flavor stands alone.
Fresh Thyme: Brings earthiness and a subtle pine note that balances the richness. A pinch of dried thyme can substitute, but fresh yields a brighter, more vibrant taste.
Bay Leaf: Infuses a subtle floral hint that elevates the entire dish. Removing it means the sauce will lack that gentle complexity, though it won’t ruin the recipe.
Salt: Enhances every component, allowing flavors to shine. Too little salt will mute the dish; too much can make it taste briny.
Black Pepper: Provides a gentle heat and depth. Skipping it results in a slightly one‑dimensional flavor profile.
The Texture Crew
Whole Milk: The creamy base that melds the sauce into silky perfection. Using low‑fat milk will thin the sauce; full‑fat milk gives richness. If you skip milk, the dish will feel dry and lack cohesion.
All‑Purpose Flour: Acts as a natural thickener, giving the sauce body without heaviness. If you leave it out, the sauce will remain watery and fail to cling to the chicken.
Butter: Adds a glossy sheen and a subtle nutty flavor. It also helps in browning the chicken. Omit butter, and the sauce loses its buttery depth.
Olive Oil: A small amount of oil is essential for browning and prevents sticking. Skipping oil can cause the chicken to cling to the pan, leading to uneven cooking.
The Unexpected Star
Paprika: Introduces a mild, smoky sweetness that complements the dairy. It also gives a subtle color boost. Without paprika, the dish will lack that warm, inviting hue.
Lemon Zest: Adds a bright, citrusy lift that cuts through the richness of milk and butter. It also enhances the aroma. Skipping zest will make the dish feel heavier and less vibrant.
The Final Flourish
Fresh Parsley: A finishing sprinkle of parsley provides color, freshness, and a herbal note that ties all flavors together. If omitted, the dish will feel less lively.
Everything's prepped? Good. Let's get into the real action...
The Method — Step by Step
- Prep the Chicken: Pat the thighs dry with paper towels—this step is crucial for a crisp skin. Season both sides generously with salt and pepper. Let them rest at room temperature for 10 minutes; this ensures even cooking. When you’re ready, the chicken should feel firm to the touch, like a solid marble block ready for the pan.
- Brown the Meat: Heat a heavy skillet over medium‑high heat, adding 1 tablespoon of olive oil. Once shimmering, place the chicken thighs skin‑side down, and let them sear for 5–6 minutes until golden brown. Flip and cook the other side for 4 minutes. The sizzle you hear is the sound of flavor locking in; that’s the moment you want to keep your eyes on the pan.
- Sauté Aromatics: Remove the chicken temporarily and reduce heat to medium. Add the remaining olive oil, then toss in minced garlic and diced onion. Sauté until the onion turns translucent and the garlic releases its fragrance—about 3 minutes. The aroma should be sweet and inviting, like a warm hug.
- Deglaze and Infuse: Pour in a splash of milk to deglaze the pan, scraping up the brown bits that carry flavor. Add thyme, bay leaf, and paprika. Stir until the mixture bubbles gently. This step is where the base of the sauce starts to form; watch the milk thicken slightly as it absorbs the herbs.
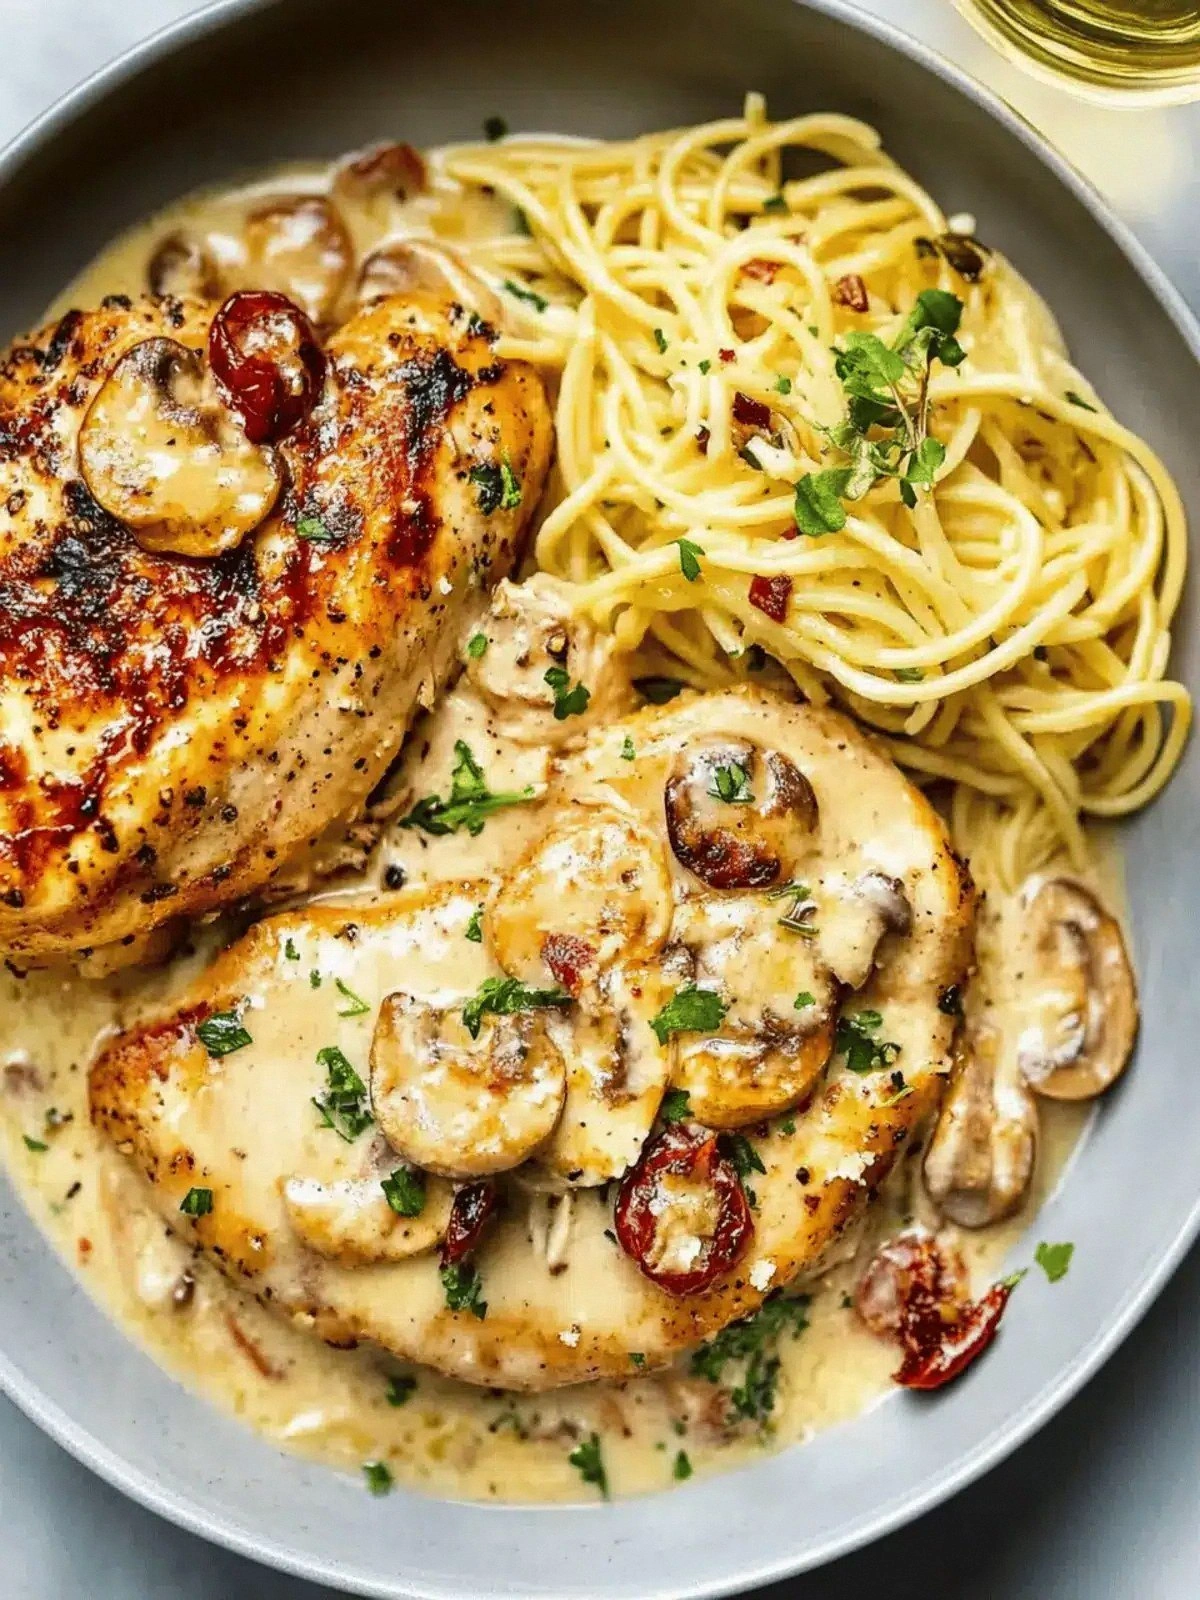
- Return the Chicken: Place the browned thighs back into the skillet, skin side up. Spoon some of the sauce over each piece, ensuring they’re coated. This ensures the chicken stays moist and the sauce clings beautifully.
- Thicken the Sauce: Sprinkle flour evenly over the pan, stirring constantly to avoid clumps. Cook for 1–2 minutes until the flour browns slightly, then gradually whisk in the remaining milk. The sauce should thicken to a silky consistency. If you notice any lumps, use a whisk or a small blender to smooth it out.
- Simmer: Reduce heat to low, cover the skillet, and let the chicken cook for 15–18 minutes. The sauce should be thick, glossy, and cling to the chicken. The internal temperature should reach 165°F (74°C). This gentle simmer preserves moisture and lets flavors meld.
- Finish with Butter and Zest: Stir in butter until melted, giving the sauce a silky sheen. Add lemon zest, and stir until fragrant. This brightens the dish, cutting through the richness and adding a subtle citrus note.
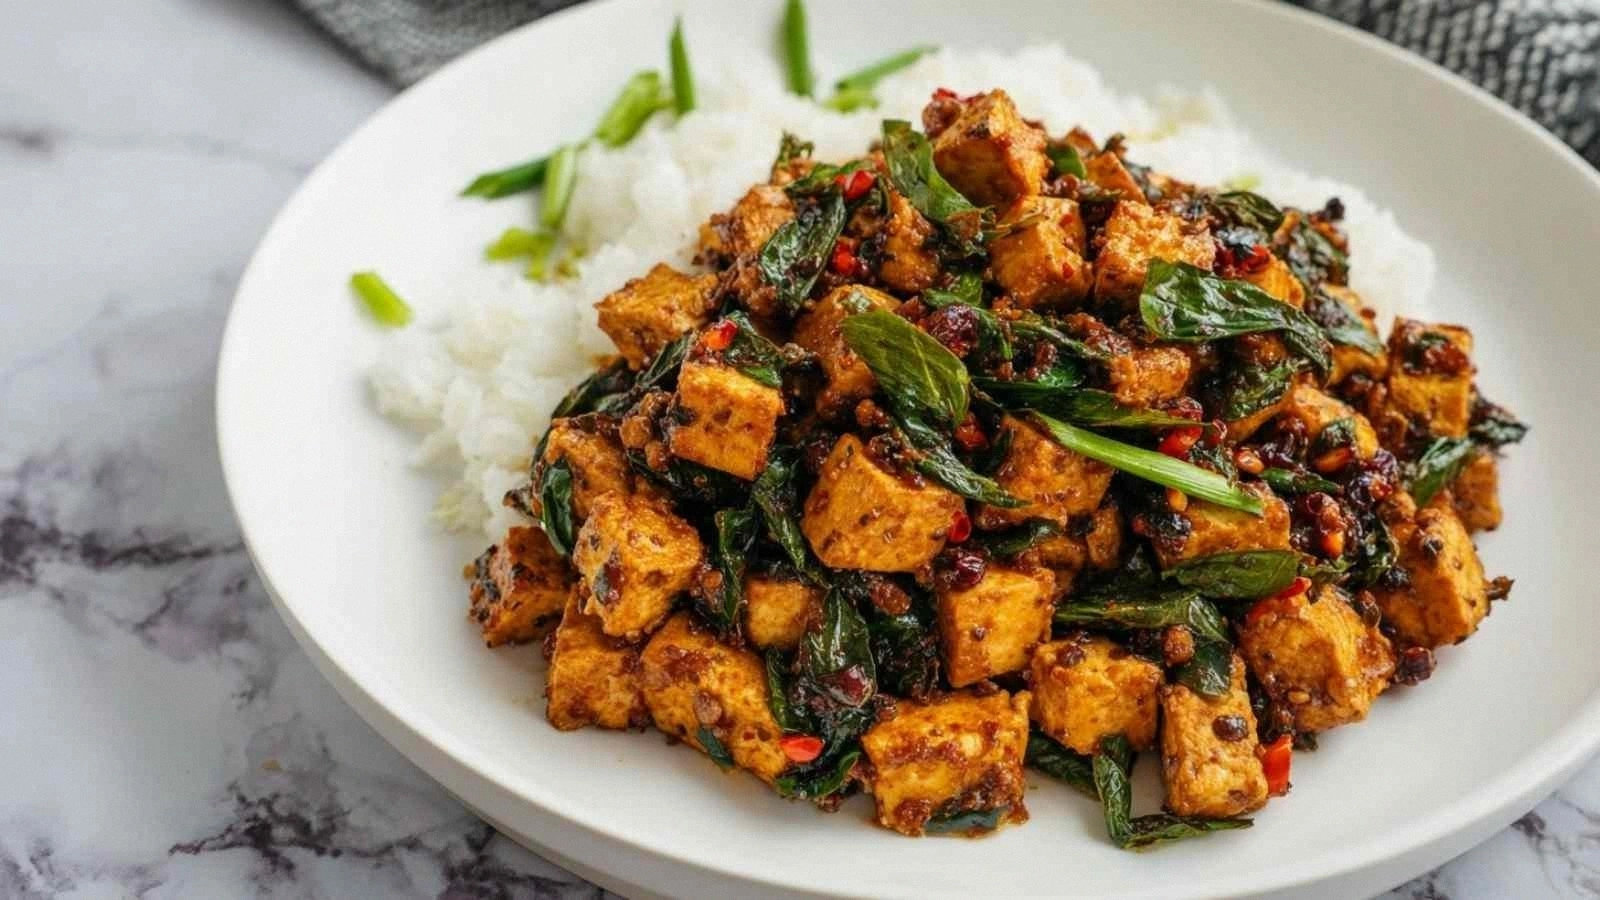
- Garnish and Serve: Sprinkle chopped parsley over the top, give a final stir, and transfer the skillet to a serving platter. The final aroma should be intoxicating, a mix of buttery, garlicky, and herbal notes. Serve immediately with crusty bread or steamed rice.
That's it — you did it. But hold on, I've got a few more tricks that'll take this to another level...
Insider Tricks for Flawless Results
The Temperature Rule Nobody Follows
Many cooks think high heat is always better, but for this dish, controlling temperature is king. Keep the skillet on medium‑low after adding milk to avoid scorching. A gentle simmer allows the sauce to thicken naturally without curdling. If you notice the sauce pulling away, reduce the heat further.
Why Your Nose Knows Best
Before you taste the sauce, pause and sniff. The aroma should be buttery, garlicky, and herbaceous. If it smells overly dairy or burnt, let it simmer a few more minutes. Your nose is the best judge of flavor balance, so trust it.
The 5‑Minute Rest That Changes Everything
Once the skillet is off the heat, let the dish rest for 5 minutes with the lid on. This allows the juices to redistribute and the sauce to thicken further. The rest also lets the flavors meld, giving the dish a more cohesive taste profile.
Use Fresh Herbs, Not Dried
Fresh thyme and parsley bring brightness that dried herbs can’t match. If you’re out of fresh herbs, use dried but reduce the amount by half, as dried herbs are more potent. Fresh herbs also add a pop of color that makes the dish visually appealing.
Add a Splash of Acid
A squeeze of lemon juice just before serving brightens the sauce and cuts through the richness. It also adds a subtle zing that wakes up the palate. Be careful not to overdo it; a little goes a long way.
Serve with the Right Side
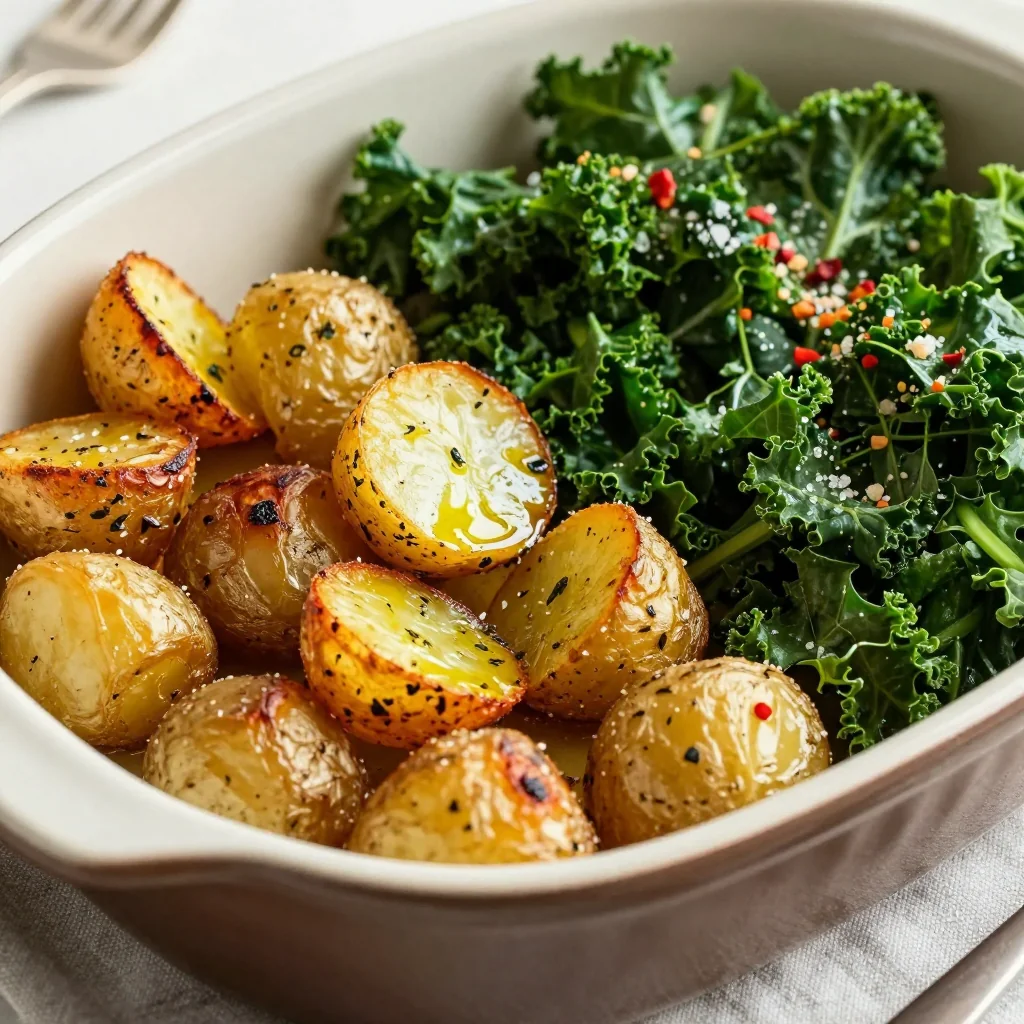
Pair this dish with a simple green salad or roasted vegetables to balance the richness. A crusty baguette or warm rice will soak up the sauce, making every bite a delight. The key is to keep the side light so the chicken remains the star.
Creative Twists and Variations
This recipe is a playground. Here are some of my favorite ways to switch things up:
Smoky Chipotle Chicken
Swap paprika for chipotle powder and add a dash of smoked salt. The result is a deep, smoky flavor that pairs well with a cool avocado salsa.
Herb‑Infused Creamy Spinach
Fold in fresh spinach during the last 5 minutes of simmering, and sprinkle with chopped basil. The spinach adds color and a subtle earthiness that complements the creamy sauce.
Citrus‑Rich Orange Glaze
Replace lemon zest with orange zest and add a splash of orange juice. The sweet citrus note elevates the dish, making it perfect for a brunch gathering.
Spicy Cajun Kick
Add a tablespoon of Cajun seasoning to the aromatics and a pinch of cayenne pepper. This variation gives the dish a bold, spicy profile that’s sure to impress.
Mushroom & Thyme Fusion
Sauté sliced mushrooms with the garlic and onion. Their earthy flavor pairs beautifully with thyme, creating a comforting, umami‑rich sauce.
Storing and Bringing It Back to Life
Fridge Storage
Cool the dish completely, then transfer to an airtight container. Store in the refrigerator for up to 3 days. The sauce will thicken slightly; a quick stir will restore its silky texture.
Freezer Friendly
Place the cooled dish in a freezer‑safe container or zip‑lock bag. Freeze for up to 2 months. Thaw overnight in the fridge before reheating to preserve moisture.
Best Reheating Method
Reheat gently on the stovetop over low heat, adding a splash of milk or water to loosen the sauce. Stir frequently until heated through. This technique keeps the sauce from drying out and maintains its lusciousness.