I was in the middle of a late‑night pizza experiment when the kitchen alarm sounded—a burnt crust, a lingering smell of over‑cooked garlic, and my friends shouting, “We need something fresh, fast, and unforgettable.” I stared at the chaos, then at the sea of clean, glistening squid on the counter, and thought, “What if I could turn this mess into a crowd‑pleaser with a single sizzling pan?” That moment sparked a culinary revelation, and the next thing I did was whisk up a handful of salt, pepper, and a splash of Shaoxing wine, then set the skillet to roar. If you’re hungry for a dish that turns a kitchen disaster into a triumph, you’re in the right place.
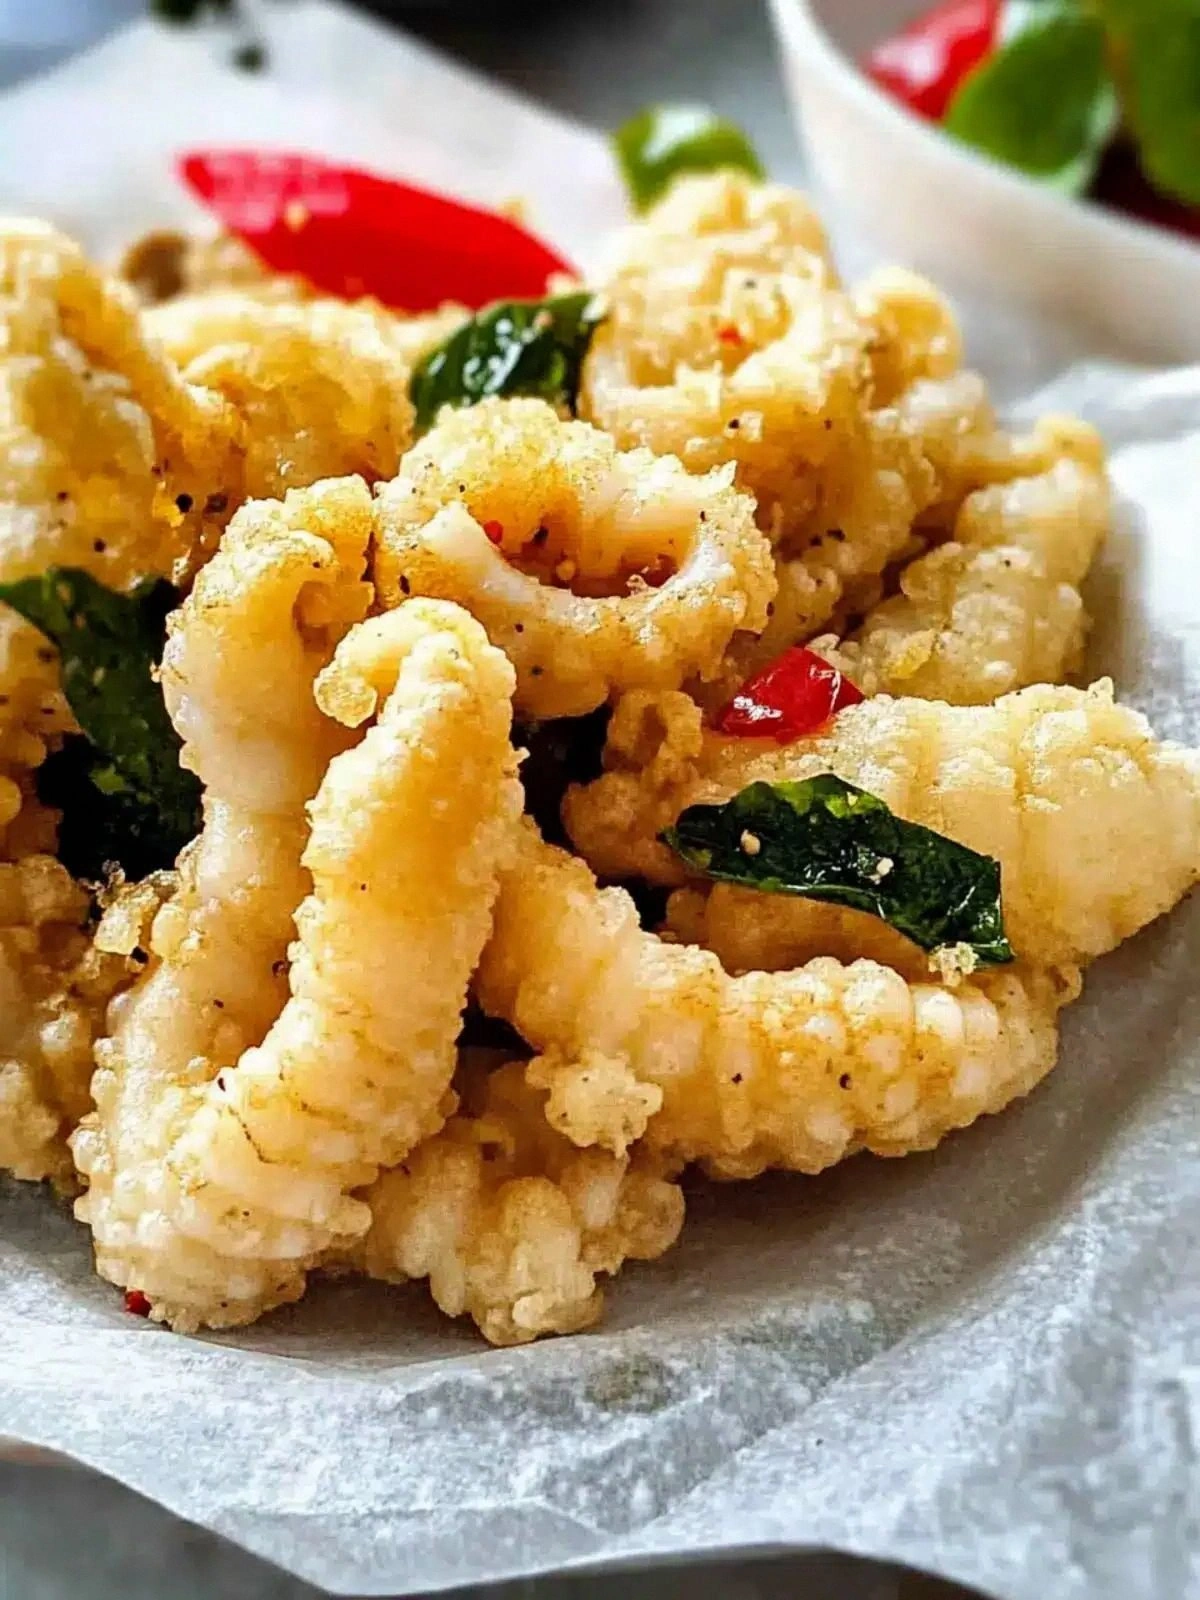
Picture this: the first bite delivers a burst of citrusy sea‑salt, followed by the sharp snap of pepper, and then the tender, almost buttery texture of perfectly fried squid. The aroma is a smoky, garlicky perfume that makes the whole house inhale a collective sigh of relief. The sound—an unmistakable sizzle—tells you the oil is at the right temperature, and the sight of golden, crisp edges shattering like thin ice is proof that your technique is flawless. Trust me, I dare you to taste this and not go back for seconds.
What makes this version stand out is not just the crunch or the seasoning; it’s the harmony of flavors, the simplicity of the method, and the way each ingredient sings in unison. I’ve spent years tweaking recipes, but this one feels like a secret handshake between you and the sea. It’s the kind of dish that can be plated in a flash yet feels like a gourmet experience. I’ll be honest— I ate half the batch before anyone else got to try it. That’s the power of a recipe that feels both indulgent and accessible.
Most recipes get this completely wrong by over‑frying the squid or using too much oil, resulting in a rubbery texture that defeats the purpose of a quick snack. Here, the combination of flour and cornstarch creates a light, airy coating that crisps without heaviness. The use of Shaoxing wine adds a subtle depth that elevates the dish beyond ordinary fried calamari. And the final touch of fresh basil gives it a bright, herbal finish that keeps the palate refreshed. If you’ve ever struggled with achieving that perfect crunch, you’re not alone—and I’ve got the fix.
What Makes This Version Stand Out
- Texture: The dual coating of flour and cornstarch produces a crisp shell that yields to a tender interior, creating a contrast that delights the mouth.
- Flavor: The salt and pepper blend is bold yet balanced, while the Shaoxing wine brings a subtle umami note that deepens the overall taste profile.
- Simplicity: With only a handful of ingredients and a single pan, this dish can be whipped up in under 30 minutes.
- Versatility: It works as an appetizer, a party snack, or a quick meal, adapting effortlessly to any occasion.
- Audience: From food critics to college roommates, everyone loves the satisfying crunch and savory flavor.
- Ingredient Quality: Fresh squid, high‑grade vegetable oil, and aromatic garlic ensure a premium taste that feels homemade.
- Cooking Method: Shallow frying at the right temperature guarantees even cooking and maximum crispiness.
- Make‑Ahead Potential: The coated squid can be pre‑fried and reheated with minimal loss of texture, making it ideal for batch cooking.
Inside the Ingredient List
The Flavor Base
Shaoxing wine is the unsung hero that adds a subtle sweetness and depth of flavor, bridging the briny squid and the peppery crust. Without it, the dish would taste flat and overly salty. If you’re missing this Chinese staple, a splash of dry sherry or a drizzle of rice wine works as a decent stand‑in. The key is to add it before the squid hits the pan, allowing the alcohol to evaporate and leave behind a complex aroma.
The Texture Crew
Flour and cornstarch together create a light, airy coating that crisps to perfection while keeping the squid moist inside. Flour provides structure, and cornstarch adds a delicate crunch. Skipping either will result in a heavier, less satisfying bite. For a gluten‑free version, swap the flour for a 1:1 blend of rice flour and potato starch.
The Unexpected Star
Fresh basil leaves are tossed at the very end, offering a burst of herbal brightness that cuts through the richness of the fried squid. Basil’s peppery undertones complement the seasoned crust, while its essential oils add a fragrant finish. If basil isn’t in season, try chopped cilantro or a sprinkle of microgreens for a similar effect.
The Final Flourish
A handful of fresh basil leaves, a pinch of sea salt, and a dash of white pepper finish the dish with layers of flavor that linger on the tongue. The basil’s bright green color also makes the plate visually appealing, turning a simple snack into an Instagram‑worthy masterpiece. Remember to pat the leaves dry before adding them; moisture can cause the coating to loosen.
Everything's prepped? Good. Let's get into the real action.
The Method — Step by Step
- Begin by patting the cleaned squid dry with paper towels. A dry surface ensures the coating adheres evenly and prevents steam from forming during frying. This step is crucial; any moisture will cause the batter to bubble and the crust to become soggy.
- In a shallow bowl, whisk together the flour, cornstarch, sea salt, and white pepper until well blended. The mixture should be fine and free of lumps. This dry blend is your secret to an even, crisp coating.
- Heat the vegetable oil in a large skillet over medium‑high heat. Use a thermometer to keep the oil at 180°C (350°F); this is the sweet spot for crisping without burning. A quick test: drop a small piece of batter; if it sizzles immediately, the oil is ready.
- Coat each squid piece in the flour‑cornstarch mixture, tapping off excess. This thin layer will puff up as it hits the hot oil. Don’t overcrowd the pan; you’ll want the squid to sizzle on contact.
- Slide the coated squid into the skillet and fry for 2–3 minutes per side, or until golden brown and crispy. The edges should pull away from the pan, indicating they’re cooked through. Flip gently with tongs to avoid breaking the coating.
- While the squid is frying, thinly slice the garlic and fresh chilli. This aromatics pair will infuse the oil with a subtle heat and depth. Keep the slices ready; you’ll add them after the squid is done.
- Once the squid reaches a beautiful golden hue, remove it from the skillet and set aside on a paper‑towel‑lined plate. Drain excess oil to keep the coating crisp.
- Add the sliced garlic and chilli to the same skillet and sauté for 30 seconds, just until fragrant. The oil should carry the aroma of garlic and a hint of peppery heat.
- Return the squid to the skillet, tossing gently to coat it with the aromatic oil. Cook for an additional minute, allowing the flavors to meld together.
- Finish by sprinkling the remaining sea salt, white pepper, and the handful of basil leaves over the squid. Toss once more to distribute the seasoning evenly. Plate immediately for the best texture.
That’s it—you did it. But hold on, I've got a few more tricks that'll take this to another level.
Insider Tricks for Flawless Results
The Temperature Rule Nobody Follows
Many home cooks rely on visual cues alone to judge oil temperature, but a thermometer is a game changer. Keep the oil at 180°C (350°F) for the crispest results. If you’re cooking in a cast‑iron skillet, pre‑heat it for a few minutes before adding oil, and use a small piece of batter to test the heat.
Why Your Nose Knows Best
The aroma of sizzling garlic is a reliable indicator that the oil is hot enough. When the garlic releases a sharp, nutty scent, the oil has reached the right temperature. If you catch the garlic burning before it releases that scent, lower the heat immediately.
The 5-Minute Rest That Changes Everything
After frying, let the squid rest on a wire rack for 5 minutes. This allows the steam to escape and keeps the coating crisp. Skipping this step often leads to sogginess, especially if the squid is plated directly on a paper towel.
The Secret of Fresh Basil
Add basil at the very end of cooking; the heat would otherwise wilt the leaves and dilute their flavor. Tossing the basil in the last minute preserves its bright, peppery notes and gives the dish a fresh, vibrant finish.
The One‑Minute Oil Infusion
Sauté the garlic and chilli in the same oil after frying the squid. This brief infusion locks in the aromatics, creating a flavor layer that coats every bite. A common mistake is to skip this step; the result is a bland, one‑dimensional dish.
Creative Twists and Variations
This recipe is a playground. Here are some of my favorite ways to switch things up:
Citrus Zest Surprise
Add a teaspoon of lemon zest to the flour mixture. The bright citrus notes cut through the richness of the oil, creating a refreshing contrast. It’s perfect for summer gatherings.
Smoky Chipotle Kick
Replace the fresh chilli with a tablespoon of chipotle in adobo. This gives the dish a smoky heat that pairs beautifully with the briny squid. Fans of spicy foods will love this twist.
Herbal Fusion
Swap basil for a handful of fresh oregano or thyme. The herbs bring a different aromatic profile, turning the dish into a Mediterranean‑inspired delight. Pair with a drizzle of olive oil for extra depth.
Sweet and Salty Glaze
Brush the fried squid with a mixture of honey and soy sauce before serving. The glaze adds a caramelized sweetness that balances the salt and pepper. This version works well as a tapas plate.
Crunchy Panko Finish
After the initial coating, dip the squid in beaten egg and then roll in panko breadcrumbs. The result is an extra‑crisp exterior that holds up even when reheated. Ideal for a party platter.
Asian‑Inspired Garnish
Top the squid with sliced scallions, a sprinkle of toasted sesame seeds, and a drizzle of sriracha mayo. This adds layers of umami, crunch, and heat, taking the dish to a new level of complexity.
Storing and Bringing It Back to Life
Fridge Storage
Store the fried squid in an airtight container in the refrigerator for up to 2 days. Keep the coating dry by placing a paper towel underneath the squid. Reheat gently in a skillet to restore crispness.
Freezer Friendly
For longer storage, freeze the squid on a parchment‑lined tray until solid, then transfer to a freezer bag. It will keep for up to 1 month. When ready, thaw overnight and reheat in a hot skillet.
Best Reheating Method
Reheat the squid in a preheated skillet at medium heat, flipping once, until the coating is crisp. Add a tiny splash of water before reheating; this steams the interior slightly and prevents the coating from drying out. Serve immediately for the best texture.