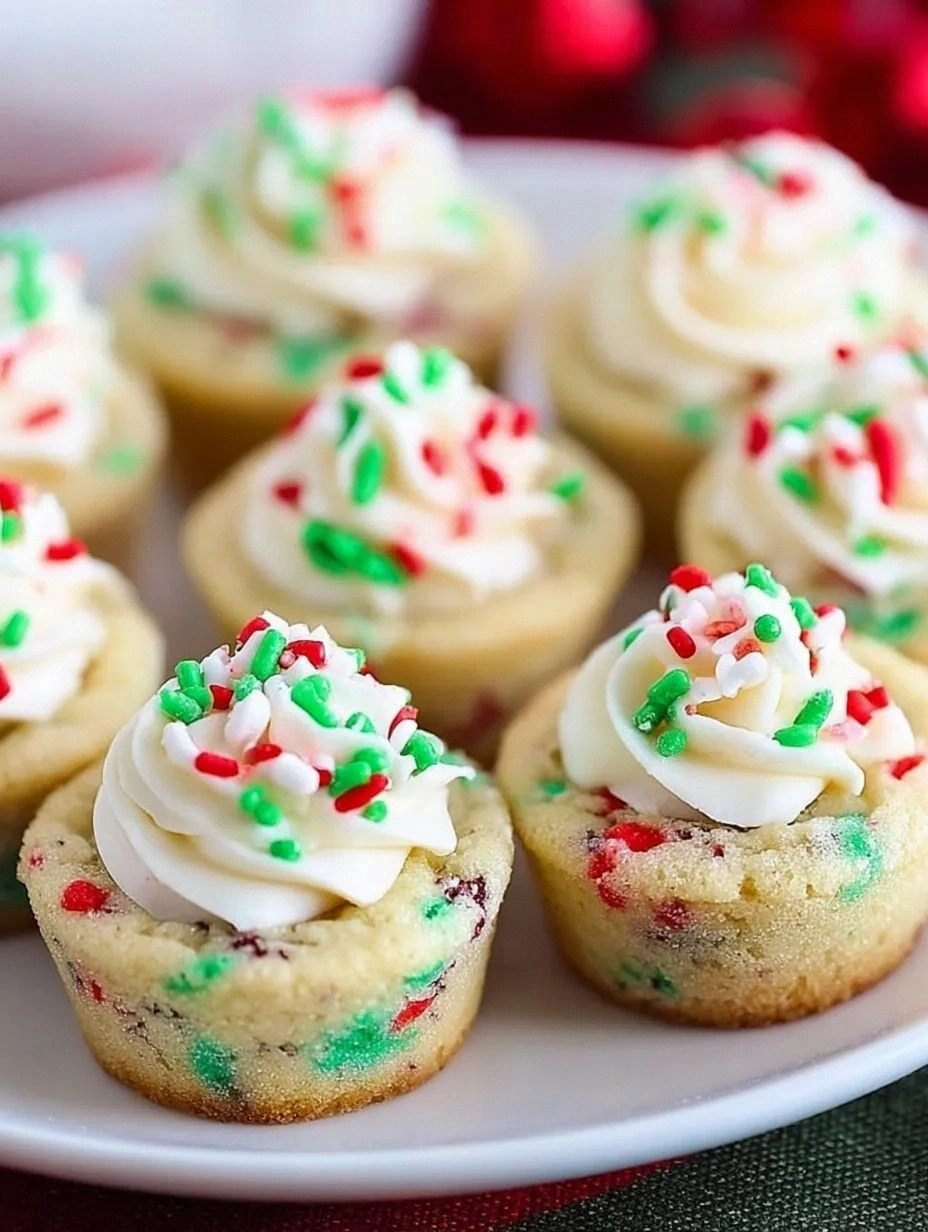
I was in the middle of a frantic Sunday brunch when my roommate challenged me: “Make something that can turn a boring pancake into a celebration.” I grabbed the nearest bag of store‑bought marshmallow fluff, only to discover it tasted like a sugary disappointment wrapped in a plastic bag. The texture was flat, the flavor was one‑note sweet, and I could practically hear the sighs of my guests as they forced a bite. That moment sparked a kitchen rebellion—why settle for a pre‑made fluff when you can create clouds that melt on the tongue and sparkle with vanilla?
Picture this: a pot simmering on the stove, the air filling with a caramel‑kissed perfume that whispers of childhood campfires and candy stores. The sugar crystals dance as they dissolve, the corn syrup glistens like liquid amber, and the egg whites begin to swirl into a glossy whirlpool that looks suspiciously like a miniature tornado. My hands are steady, the whisk humming, and the kitchen feels alive, humming with anticipation. I can already taste that airy sweetness, the kind that hugs your palate without overwhelming it—just the right balance of fluffy and buttery.
Most recipes out there either over‑whip the egg whites, leaving you with a rubbery mess, or under‑cook the sugar syrup, resulting in a runny, sticky puddle that clings to the bowl. This version, however, is a game‑changer because it marries the science of a proper sugar syrup with the art of perfectly staged egg whites. The secret? A pinch of cream of tartar that stabilizes the foam, and a splash of vanilla that adds depth without stealing the spotlight. I dare you to taste this and not go back for seconds—trust me, it’s a commitment.
Let me walk you through every single step — by the end, you’ll wonder how you ever made it any other way. Okay, ready for the game‑changer? This next part? Pure magic. Stay with me here — this is worth it.
What Makes This Version Stand Out
- Texture: The fluff achieves a cloud‑like lightness that holds its shape without collapsing, thanks to the precise temperature of the sugar syrup and the exact timing of the whisk.
- Flavor: A subtle vanilla undertone balances the sweetness, making it perfect for both desserts and savory pairings like spicy sriracha glaze.
- Simplicity: Only six pantry staples are required, and the method uses tools you already have—no fancy siphon needed.
- Stability: Thanks to cream of tartar, the foam stays glossy for hours, so you can pipe it onto cupcakes and still have that perfect sheen.
- Crowd Reaction: First‑time tasters often describe it as “marshmallows reborn” and will beg for the recipe within minutes.
- Make‑Ahead Potential: Store it in a sealed container for up to a week; it only gets better as the flavors meld.
- Ingredient Quality: Using light corn syrup prevents crystallization, ensuring a smooth, glossy finish.
- Versatility: Works as a topping, a dip, or a sandwich spread—your imagination is the limit.
Inside the Ingredient List
The Flavor Base
Water (1 cup) may seem boring, but it’s the silent hero that dissolves sugar evenly, preventing scorching. If you skimp on water, the syrup will caramelize too fast, leaving a bitter edge. For a richer mouthfeel, you could substitute half the water with milk, but that will add a dairy note that changes the classic profile.
The Sweet Symphony
Granulated sugar (2 cups) provides the bulk of sweetness and the structure of the foam. Using superfine sugar can speed up dissolution, but regular granulated works just fine if you keep the heat gentle. Light corn syrup (1 cup) is the unsung champion; it prevents sugar crystals from forming, giving the fluff its glossy sheen. If you’re allergic to corn, a glucose syrup works as a direct swap.
The Texture Crew
Egg whites (4 large) are the backbone of the fluff. They need to be at room temperature to whip up quickly and hold air. Adding cream of tartar (1 tsp) stabilizes the proteins, ensuring the peaks stay firm. Skipping it? Expect a runny, unstable mixture that collapses like a deflated balloon. Fresh, high‑quality vanilla extract (1 tsp) adds aromatic depth without overpowering the delicate sweetness.
The Final Flourish
A splash of vanilla (1 tsp) might seem trivial, but it lifts the entire flavor profile, turning simple sugar into a nuanced treat. If you crave a caramel twist, swap half the vanilla for a dash of bourbon or a pinch of sea salt. The key is balance: you want the fluff to be sweet, airy, and just a whisper of depth.
Everything's prepped? Good. Let's get into the real action...
The Method — Step by Step
Gather a heavy‑bottomed saucepan, a candy thermometer, and a stand mixer with the whisk attachment. Add the water, granulated sugar, and light corn syrup to the pan, stirring just enough to combine. Place the saucepan over medium‑high heat and watch as the mixture begins to bubble—this is the prelude to the magic. Watch the edges; when they start to turn a light amber, you’re approaching the soft‑ball stage.
Watch Out: If the syrup boils too vigorously, it can scorch, leaving a bitter aftertaste. Reduce the heat slightly and keep a close eye.Clip the thermometer onto the side of the pan. When the temperature hits 240°F (115°C), immediately remove the pan from the heat. The syrup should be glossy and thick, but not yet caramelized. This precise moment is crucial; too low and the fluff won’t set, too high and you’ll get a caramel flavor that overpowers the vanilla. Let the syrup sit for 1‑2 minutes while you prep the egg whites.
While the syrup rests, separate the egg whites from the yolks, ensuring no yolk contaminates the whites. Add the cream of tartar and a pinch of salt (optional, for stability). Begin whisking on low speed until frothy, then increase to medium until soft peaks form. This is where the air is incorporated, creating the foundation of your cloud.
Now comes the dramatic pour: with the mixer running on medium‑high, slowly drizzle the hot syrup into the egg whites in a thin, steady stream. The mixture will look like a glossy river merging with snow—watch for the sheen that signals everything is bonding.
Kitchen Hack: If the syrup splatters, pull the whisk attachment back a half inch; the gap prevents hot syrup from hitting the bowl directly.Once all the syrup is incorporated, increase the mixer speed to high and continue beating for 5‑7 minutes. The mixture will thicken, become glossy, and increase in volume dramatically. You’ll notice the bowl pulling away from the whisk—this is the sign that the protein network is fully formed. The aroma will shift from sugary to a warm vanilla perfume that fills the kitchen.
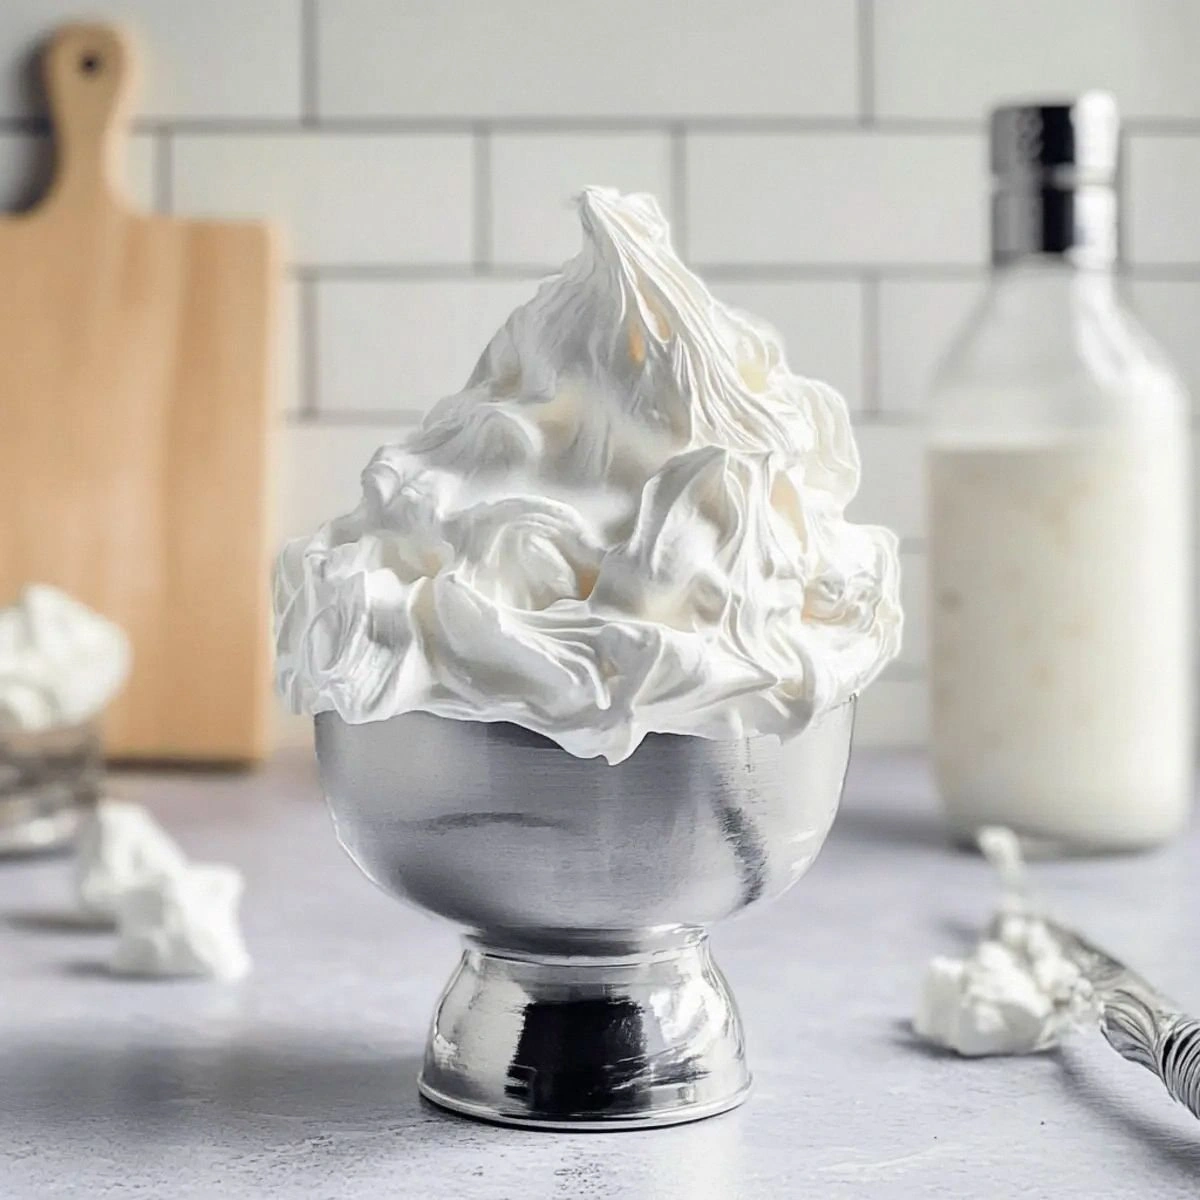
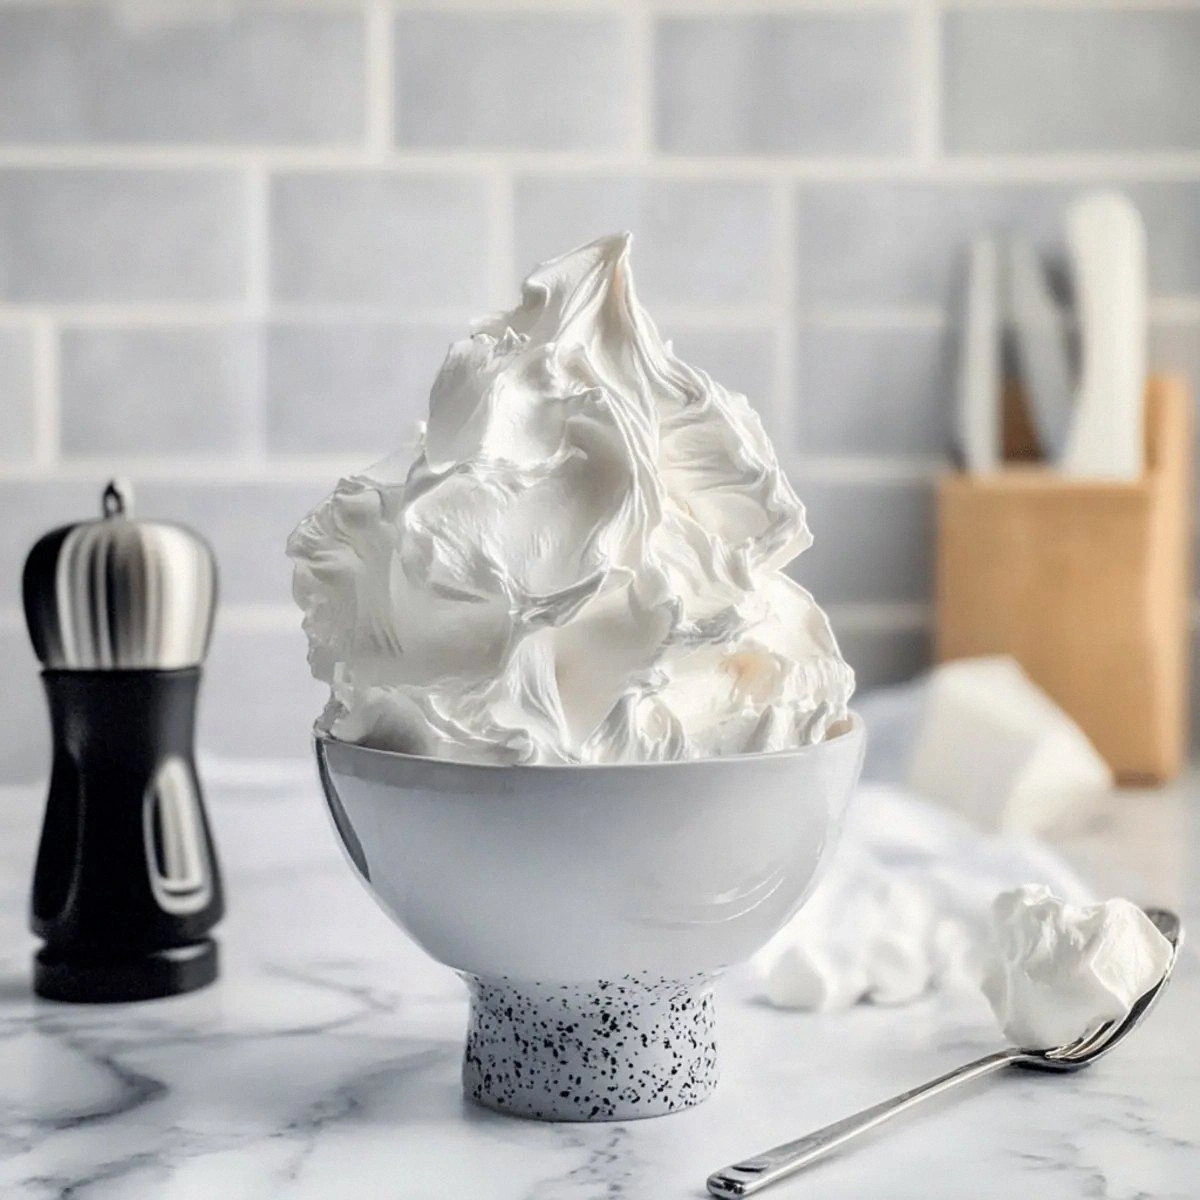
Add the vanilla extract during the last minute of whipping. This ensures the flavor is evenly distributed without evaporating. The fluff should now be thick enough to hold its shape when the whisk is lifted, yet still soft enough to melt on your tongue. If you test a spoonful, it should hold a soft peak and slide off the spoon like a gentle wave.
Transfer the marshmallow fluff into a clean, airtight container. Smooth the top with a spatula, and if you’re feeling fancy, dust a thin layer of powdered sugar for a snowy finish. Store at room temperature for up to 24 hours if you plan to use it the same day, or refrigerate for longer storage. The texture will stay airy, though it may become slightly denser—just give it a quick whisk before serving.
That’s it — you did it. But hold on, I’ve got a few more tricks that'll take this to another level. Picture yourself pulling a spoonful of this cloud onto a warm scone, the fluff melting like sunrise on a winter morning. That sizzle when it hits the pan? Absolute perfection. Now, let’s explore those extra tips.
Insider Tricks for Flawless Results
The Temperature Rule Nobody Follows
Never guess the syrup temperature; always use a reliable candy thermometer. The sweet spot at 240°F ensures the syrup is thick enough to set but not so hot that it cooks the egg whites prematurely. A friend once tried to eyeball the temperature and ended up with a gummy mess that never held peaks. Trust the thermometer, and you’ll get that glossy, stable foam every time.
Why Your Nose Knows Best
Your sense of smell is a secret ally. When the syrup reaches the soft‑ball stage, it emits a faint caramel scent—if you notice a burnt aroma, you’ve gone too far. Likewise, as you whisk, the vanilla will become more pronounced; that’s your cue that the fluff is nearing perfection. Trust those olfactory hints—they’re more reliable than a timer.
The 5‑Minute Rest That Changes Everything
After whipping, let the fluff rest for five minutes before using it. This brief pause allows the air bubbles to stabilize, giving you a smoother texture when you pipe or spread it. I once rushed straight to the plate and found tiny “holes” in the fluff; a short rest eliminates that issue entirely.
The Power of Cream of Tartar
Skipping cream of tartar is a common mistake that leads to a flat, unstable foam. This acid stabilizes the egg white proteins, allowing them to trap more air. Even a tiny pinch can make the difference between a lofty cloud and a soggy puddle. Keep it on hand; it’s a pantry hero.
Cold Bowl, Warm Heart
Chill your mixing bowl before you start whipping the egg whites. A cold metal bowl helps the proteins tighten faster, giving you stiffer peaks in less time. My first batch was done in a room‑temperature bowl and took forever to reach the right consistency—cold is the secret weapon.
Creative Twists and Variations
This recipe is a playground. Here are some of my favorite ways to switch things up:
Chocolate‑Swirl Delight
Melt ½ cup of dark chocolate and fold it gently into the finished fluff for a marbled effect. The bitter notes balance the sweetness, making it perfect for topping brownies or ice cream.
Citrus Zest Burst
Add the zest of one orange or lemon during the final minute of whipping. The bright citrus lifts the flavor, creating a refreshing contrast that works wonderfully on fruit tarts.
Spiced Autumn Whisper
Stir in ¼ tsp of ground cinnamon, a pinch of nutmeg, and a dash of clove for a cozy, fall‑ready version. Pair it with pumpkin pancakes for an instant seasonal hit.
Nutty Crunch Fusion
Fold in toasted, finely chopped almonds or pistachios after the fluff is set. The crunch adds texture, turning the smooth cloud into a delightful bite‑size surprise.
Boozy Velvet
Replace half the vanilla with a tablespoon of bourbon or rum for an adult‑only twist. The alcohol evaporates slightly during whipping, leaving a subtle warmth that pairs beautifully with chocolate desserts.
Storing and Bringing It Back to Life
Fridge Storage
Transfer the fluff to an airtight glass jar and refrigerate for up to one week. The cool environment keeps the texture firm; before using, let it sit at room temperature for 10 minutes, then give it a quick whisk to restore its airy consistency.
Freezer Friendly
Portion the fluff into silicone ice‑cube trays and freeze. Once solid, pop the cubes into a zip‑top bag and store for up to three months. To thaw, place the cubes in a bowl at room temperature for 20 minutes and stir gently.
Best Reheating Method
If the fluff has become dense, add a tiny splash (about 1‑2 teaspoons) of warm water and whisk on low speed for 30 seconds. The steam revives the airy texture without diluting the flavor, giving you that fresh‑made feel.